Transforming your living space with your own hands is one of the most rewarding ways to infuse personality, warmth, and modern elegance into your home. In a world dominated by mass-produced decor, creating handmade artisanal pieces grounds your environment in intentionality and unique visual storytelling. Whether you are an experienced crafter or picking up a glue gun for the first time, this comprehensive guide covers twenty stunning, Pinterest-worthy DIY projects designed to elevate your interior aesthetic. From tactile textile art to ethereal lighting, every project includes detailed material lists, step-by-step crafting instructions, insider tips, and creative variations to match your distinct style.
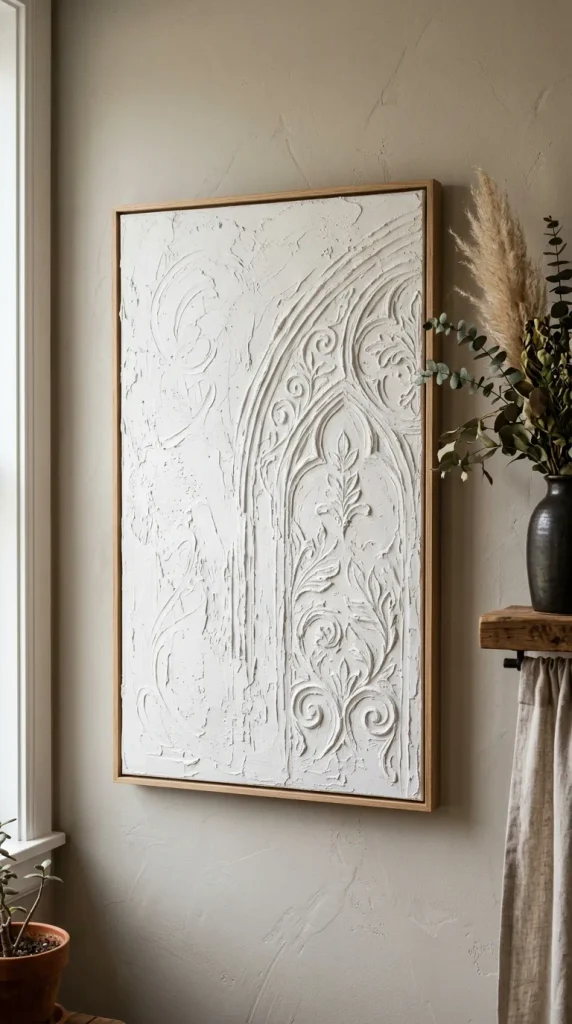
1. Textured Plaster Wall Canvas
Textured wall art adds profound architectural depth to minimalist and modern organic interiors. By combining joint compound and acrylic paint, you can replicate high-end gallery canvases without the luxury price tag.
Materials Needed
- Stretched blank cotton canvas (size of your choice, e.g., $24 \times 36$ inches)
- Interior wall joint compound or lightweight spackle
- Stainless steel putty knife and notched trowel
- Fine-grit sandpaper ($220$-grit)
- Matte white or warm beige acrylic wall paint
- Soft-bristle paintbrush
Step-by-Step Instructions
- Prep the Canvas: Lay your canvas flat on a protected work surface. Ensure the surface is clean and free of dust.
- Apply the Compound: Scoop a generous amount of joint compound onto the canvas using the putty knife.
- Create Texture: Drag the notched trowel or the edge of the putty knife across the compound at varying angles to create sweeping ridges, organic waves, or geometric cross-hatch patterns.
- Refine Details: Use a smaller palette knife or your fingers (wearing gloves) to smooth sharp edges or soften transitions.
- Drying Phase: Allow the canvas to dry completely in a well-ventilated area for $24$ to $48$ hours until the compound turns completely opaque and hard.
- Sand and Paint: Lightly sand any overly jagged peaks to achieve a tactile yet touchable finish. Paint the entire dry canvas with two coats of matte acrylic paint to seal the texture.
Tips and Variations
- Tip: If the joint compound dries too quickly and cracks, mist it lightly with water from a spray bottle while sculpting.
- Variation: Mix raw umber pigment directly into the joint compound for an earthy, monochromatic clay-like finish that requires no top coat of paint.
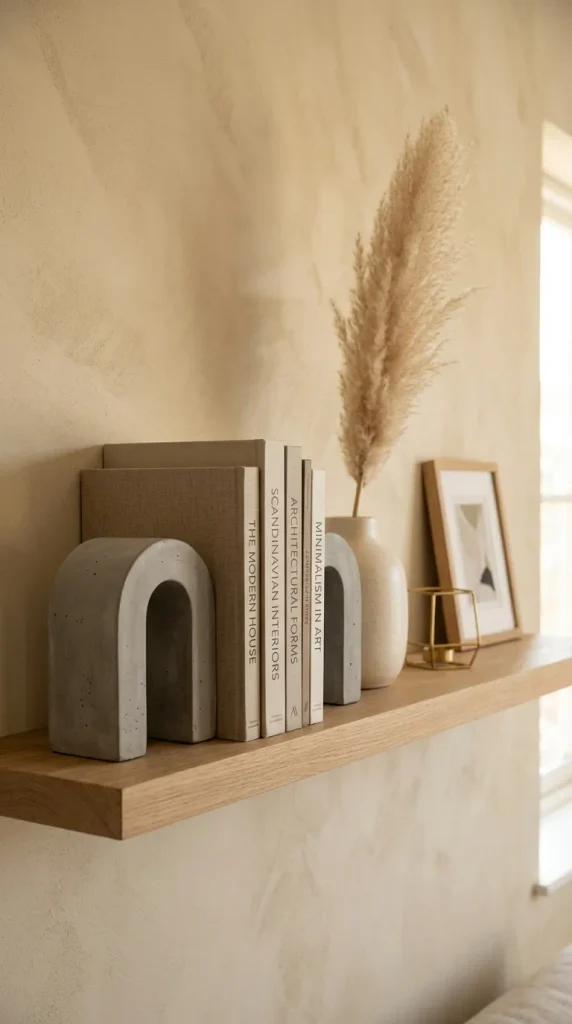
2. Minimalist Arch Concrete Bookends
Concrete brings an industrial, brutalist edge to home decor, balancing soft textiles and warm woods. Casting bookends in a modern arch silhouette turns a functional shelf accessory into a striking sculptural statement.
Materials Needed
- Quick-setting concrete mix
- Water and a mixing bucket
- Silicone arch-shaped baking mold or custom cardboard/foam core mold
- Cooking spray or petroleum jelly (for mold release)
- Fine-grit sandpaper ($120$ and $400$-grit)
- Self-adhesive cork sheet for the base
Step-by-Step Instructions
- Prepare the Mold: Coat the interior of your arch silicone mold thoroughly with cooking spray or petroleum jelly to ensure easy removal later.
- Mix the Concrete: In a bucket, combine the concrete mix and water according to package instructions until it reaches a thick, pourable milkshake consistency. Tap the bucket sides to release trapped air bubbles.
- Pour the Mixture: Slowly pour the concrete into the mold, filling it halfway, then gently shake the mold to settle the material. Fill to the top.
- Cure: Let the concrete cure undisturbed for 24 to 48 hours in a dry environment.
- Demold and Sand: Carefully peel away the silicone mold. Wet-sand the surface with fine-grit sandpaper under running water to eliminate surface imperfections and reveal a smooth, stone-like finish.
- Protect Surfaces: Cut a piece of cork sheet to match the exact footprint of the bookend base and adhere it to the bottom to protect your bookshelves.
Tips and Variations
- Tip: Tap the outside of the mold repeatedly with a spoon while the concrete is wet to force air bubbles to the surface, preventing unsightly holes.
- Variation: Press dried botanicals or brass wire into the back of the wet concrete for an unexpected textural contrast.
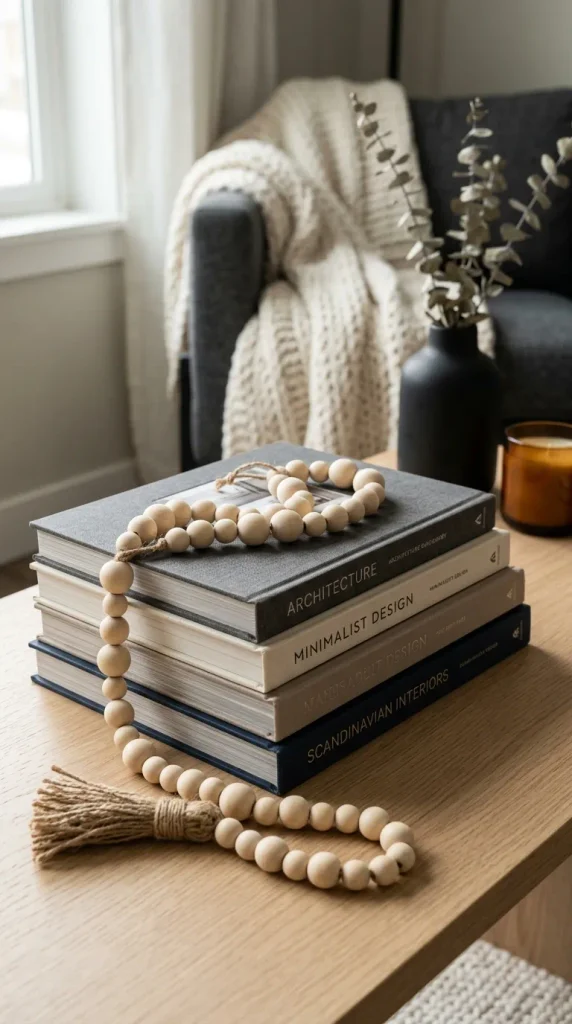
3. Nordic-Inspired Wooden Bead Garland
Simple yet deeply impactful, natural wooden bead garlands can be draped across coffee table books, wrapped around ceramic vases, or hung on wall hooks to introduce organic Scandinavian warmth.
Materials Needed
- Assorted unpainted wooden beads ($20\text{mm}$, $30\text{mm}$, and $40\text{mm}$ diameters)
- Natural jute twine or waxed cotton cord
- Painter’s tape (to create a stiff needle replacement)
- Scissors
- Natural linen fabric strips (for the tassel)
Step-by-Step Instructions
- Cut the Cord: Measure and cut a piece of jute twine approximately $48$ inches long. Tie a secure, bulky knot at one end, leaving a $4$-inch tail.
- Prepare the Needle End: Wrap a small piece of painter’s tape tightly around the opposite end of the twine to create a rigid needle-like tip.
- String the Beads: Thread your wooden beads onto the cord in a rhythmic, repeating pattern (e.g., small, medium, large, medium).
- Create the Tassel: Cut several $6$-inch strips of natural linen fabric. Bind them tightly at the top with a separate piece of twine, fluff the bottom fringe, and attach it to the end of the garland.
- Secure the Ends: Tie a final knot at the terminal end of the bead sequence to lock everything in place, trimming excess twine.
Tips and Variations
- Tip: Soak a few select wooden beads in brewed black tea or coffee for $10$ minutes before stringing to create an intentional two-tone ombre effect.
- Variation: Paint half of the beads with a soft sage green or terracotta non-toxic acrylic paint for a playful pop of color.
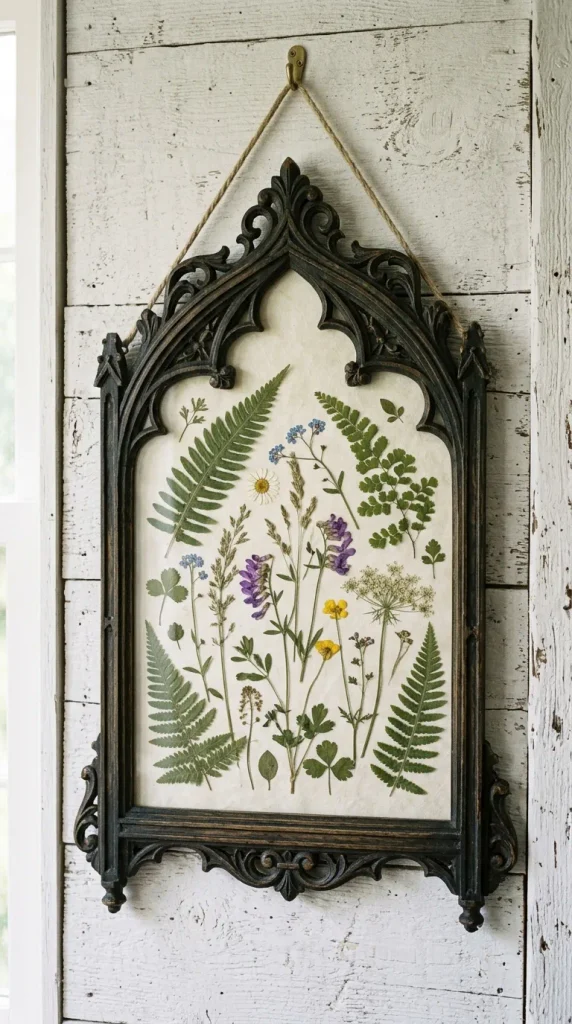
4. Pressed Botanical Floating Glass Frames
Preserving flowers from bouquets or garden walks captures a fleeting moment in time. Framing them between two panes of glass creates a floating botanical art piece that looks effortlessly chic on any gallery wall.
Materials Needed
- Pressed and completely dried flowers and leaves
- Two identical glass frames with removable backs (or floating brass edge frames)
- Tweezers
- Acid-free clear glue dots (optional)
- Microfiber cloth
Step-by-Step Instructions
- Dry the Botanicals: Place fresh flowers between the pages of a heavy book lined with parchment paper for at least two to three weeks until completely flat and desiccated.
- Clean the Glass: Wipe both pieces of glass thoroughly with a microfiber cloth and glass cleaner to remove fingerprints and dust.
- Design the Layout: Lay the bottom pane of glass on a flat surface. Use tweezers to arrange your pressed botanicals in an aesthetically pleasing composition.
- Secure Elements (Optional): Place microscopic glue dots on the very back of the stems or leaves to anchor them so they do not shift when the frame is closed.
- Seal the Frame: Carefully place the second pane of glass directly over the botanicals. Secure the frame backing or clamp the brass edges shut, ensuring no debris is trapped inside.
Tips and Variations
- Tip: Fern fronds and delicate cosmos flowers press exceptionally well and maintain their vibrant natural hues for years.
- Variation: Write delicate botanical names or inspirational dates in fine-tip gold calligraphy marker directly onto the glass before sealing.
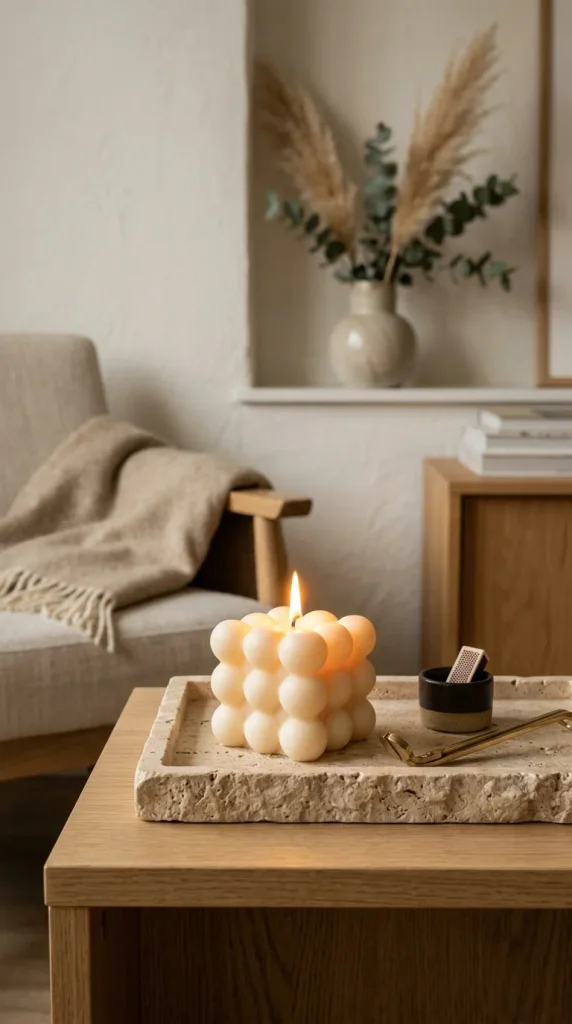
5. Hand-Poured Soy Wax Bubble Candle
Sculptural bubble candles have taken the modern interior design world by storm. Pouring your own custom-scented, eco-friendly soy wax version allows you to tailor the color palette to your room’s aesthetic.
Materials Needed
- 100% natural soy wax flakes
- Silicone bubble candle mold
- Candle wick with sustainers
- Wick centering tool (or a popsicle stick)
- Essential oils or candle fragrance oil (e.g., sandalwood, vanilla)
- Digital kitchen scale and pouring pitcher
Step-by-Step Instructions
- Measure and Melt: Weigh out enough soy wax flakes to fill your mold (typically around $150$ grams). Melt the wax in a double boiler over low heat until it reaches $70^\circ\text{C}$ ($158^\circ\text{F}$).
- Add Fragrance: Remove the wax from heat, let it cool slightly to $60^\circ\text{C}$ ($140^\circ\text{F}$), and stir in $5\text{ml}$ of your preferred essential oil blend.
- Thread the Mold: Thread the candle wick through the tiny pre-made hole at the bottom of the silicone bubble mold. Secure the bottom hole with a piece of tape to prevent leaking, and center the top of the wick across a wooden stick laid over the mold opening.
- Pour the Wax: Slowly pour the melted wax into the mold, avoiding sudden splashes.
- Cure and Unmold: Let the candle set at room temperature for at least $12$ hours. Gently peel away the silicone mold, trim the wick to $1/4$ inch, and let it cure for another 48 hours before lighting.
Tips and Variations
- Tip: Pour the wax in two separate stages if you notice a shrinkage sinkhole forming around the wick base as it cools.
- Variation: Add a few drops of liquid candle dye to achieve a trendy pastel butter-yellow or lavender aesthetic.
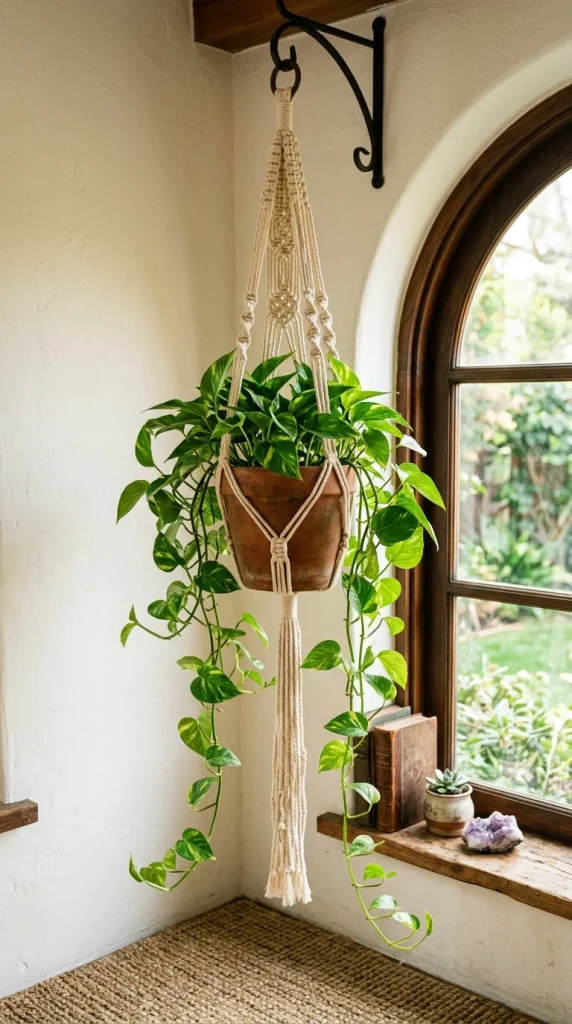
6. Macrame Plant Hanger with Wooden Rings
Macrame brings rich textile texture and a bohemian-chic sensibility to indoor urban jungles. Crafting a hanging plant holder elevates greenery and optimizes vertical space.
Materials Needed
- 3mm natural cotton macrame cord (approx. $30$ meters)
- 3-inch wooden or brass ring
- Sharp fabric scissors
- Measuring tape
- S-hook for hanging while working
Step-by-Step Instructions
- Cut the Cords: Cut eight individual cords, each measuring approximately $3$ meters in length.
- Attach to Ring: Fold all eight cords in half and pass the loop through the wooden ring, pulling the tail ends through the loop to secure a larks head knot. You will now have sixteen working cords hanging down.
- Divide and Knot: Group the cords into four sections of four. Tie a series of square knots down each section, spacing them about $2$ inches apart for $8$ to $10$ inches.
- Create the Basket Mesh: Approximately $4$ inches below the square knot columns, take two adjacent cords from neighboring sections and tie an overhand knot to form a diamond net mesh pattern.
- Final Gathering Knot: Gather all sixteen cords together at the bottom and wrap a continuous wrapping knot tightly around them to form the tassel base. Trim the fringe evenly.
Tips and Variations
- Tip: Tape your wooden ring securely to a stable doorknob or clothing rack while knotting to maintain even tension across all cords.
- Variation: Dye the bottom half of the completed cotton macrame hanger in an indigo dye bath for a stunning dip-dyed ombre effect.
7. Custom Terrazzo Catchall Tray
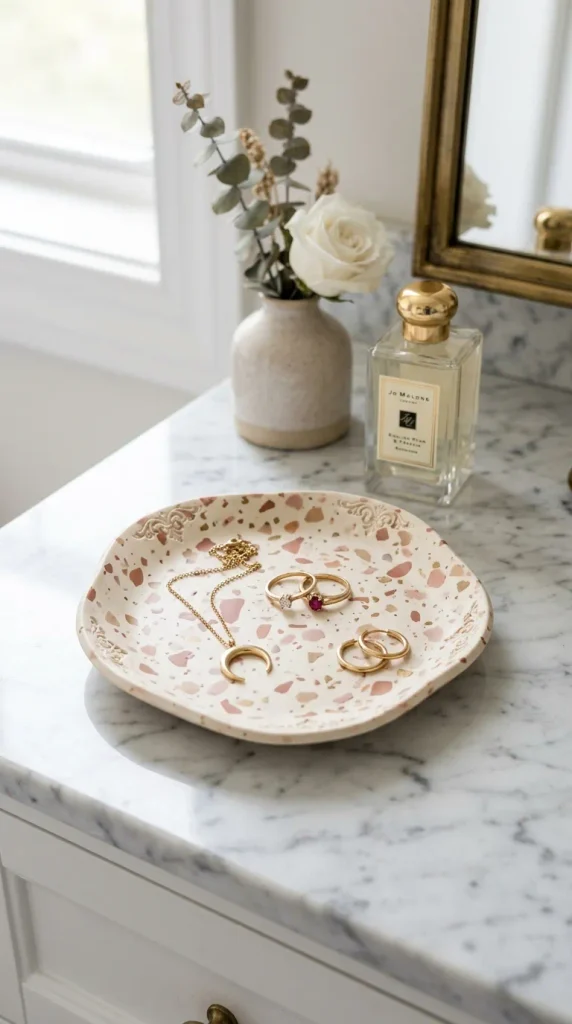
Terrazzo patterns offer playful color bursts and sophisticated mid-century modern charm. By utilizing polymer clay, you can craft lightweight, custom catchall trays to hold jewelry, keys, and everyday treasures.
Materials Needed
- Polymer clay in base color (e.g., white, sand, or charcoal)
- Assorted accent colors of polymer clay (e.g., rust, blush, mustard)
- Rolling pin and baking sheet
- Oven-safe round ceramic bowl (to act as a convex or concave molding form)
- Craft knife or blade
- Fine-grit sandpaper and acrylic gloss sealer
Step-by-Step Instructions
- Condition the Clay: Knead all your polymer clay blocks in your hands until soft and pliable.
- Create Terrazzo Chips: Roll out thin, flat sheets of your accent-color clays. Bake them briefly or let them firm up, then chop them into tiny irregular shards with a craft knife.
- Incorporate Chips: Roll out your base clay color into a smooth $1/4$-inch-thick slab. Scatter the tiny accent shards across the surface and gently roll over them with the rolling pin to embed them flat into the base clay.
- Shape the Tray: Cut out a circle or organic organic blob using your craft knife. Drape the clay slab gently inside or over an oven-safe bowl to give it a curved dish shape.
- Bake: Bake according to your specific polymer clay package instructions (typically $130^\circ\text{C}$ or $275^\circ\text{F}$ for $30$ minutes).
- Finish: Allow it to cool, sand any rough edges, and apply a thin coat of glossy varnish for a polished ceramic look.
Tips and Variations
- Tip: Keep your hands clean and wipe your work surface between colors to prevent unwanted clay smudging on your base sheet.
- Variation: Paint the outer rim of the cooled tray with liquid gold leaf leafing pen for an upscale, luxurious finish.
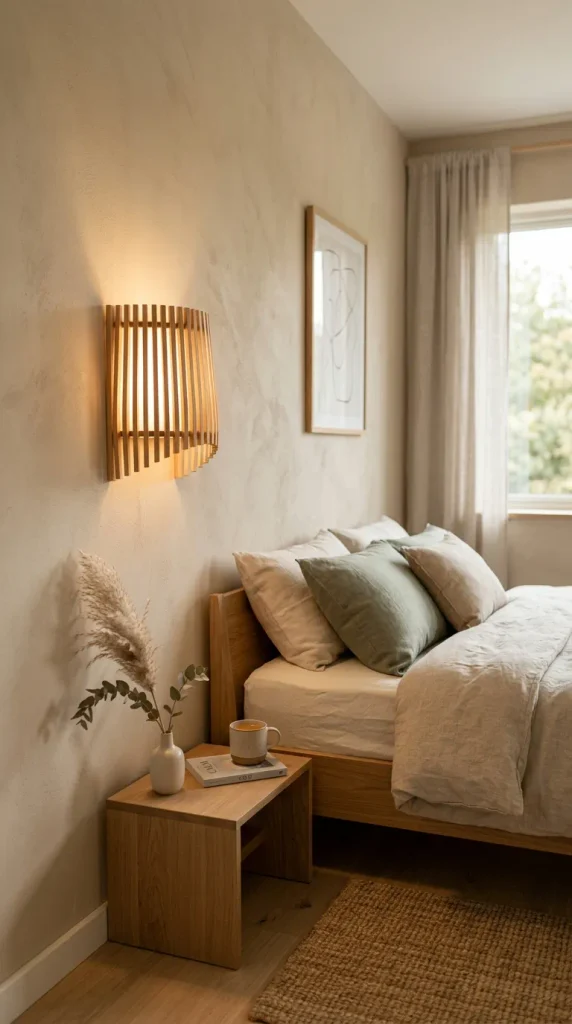
8. Japandi Slatted Wooden Wall Sconce
Combining Japanese minimalism with Scandinavian functionality (Japandi), wooden slat designs diffuse light into soft, linear patterns that create a tranquil atmosphere in bedrooms or entryways.
Materials Needed
- Thin balsa wood or basswood slats ($1/4$ inch thick, $1$ inch wide)
- Wooden embroidery hoop or metal ring frame
- Wood glue and hot glue gun
- Battery-operated puck light with remote control
- Matte black spray paint
Step-by-Step Instructions
- Prepare the Frame: Spray paint your metal ring frame with matte black paint and let it dry.
- Cut the Slats: Measure and cut your wooden slats to varying or uniform lengths depending on whether you want a curved drum or cylindrical silhouette.
- Attach Slats: Apply a small dot of wood glue to the top and bottom edge of each slat and press them evenly spaced around the perimeter of the circular frame.
- Install Lighting: Secure the battery-operated puck light to the interior wall-mounting bracket behind the slat structure so it shines outward.
- Mount to Wall: Hang the finished sconce securely using a drywall anchor and hook.
Tips and Variations
- Tip: Use a spacer block of wood between each slat during assembly to guarantee uniform, professional gaps.
- Variation: Stain the wooden slats in a rich walnut finish for a moody, dramatic aesthetic.
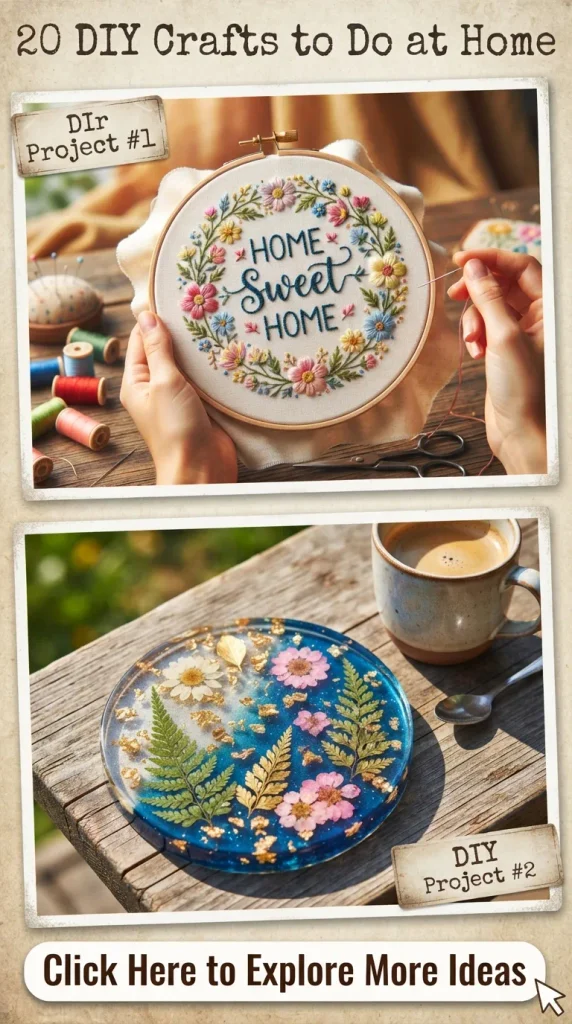
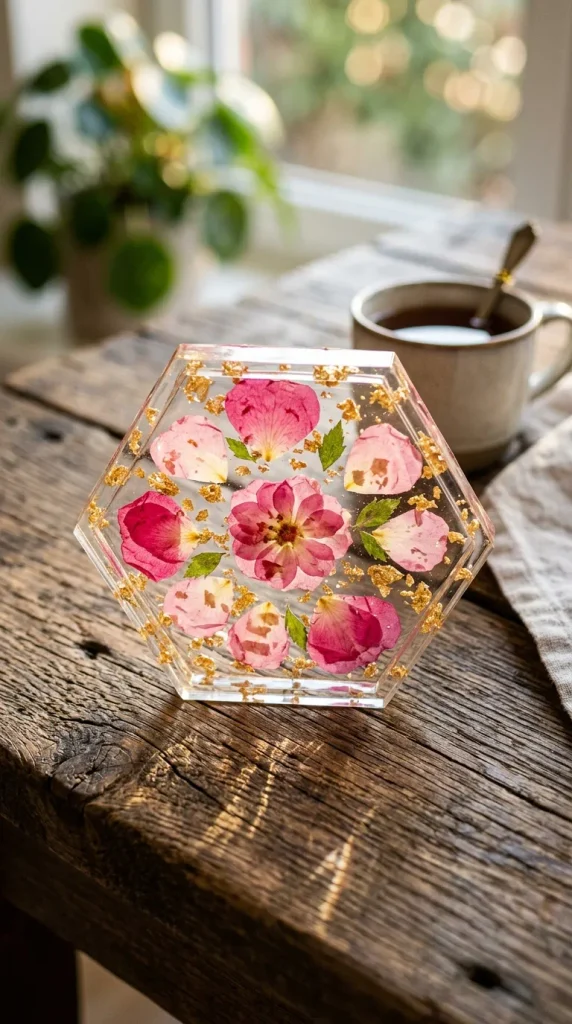
9. Pressed Flower Resin Coasters
Resin crafts capture botanical elements in crystal-clear permanence. Making botanical coasters adds a bespoke, organic touch to coffee tables while protecting wooden surfaces from moisture rings.
Materials Needed
- Clear epoxy casting resin and hardener
- Silicone coaster mold set (round or hexagonal)
- Small dried flowers, fern leaves, or gold leaf flakes
- Silicone measuring cups and mixing sticks
- Heat gun or mini butane torch (to pop bubbles)
Step-by-Step Instructions
- Mix the Resin: Measure equal parts resin and hardener by volume. Stir slowly and thoroughly for three minutes in a silicone cup to avoid introducing excess air bubbles.
- Pour Base Layer: Pour a thin base layer of clear resin into the silicone mold (about $1/3$ full). Pop any surface bubbles using a quick pass from a heat gun.
- Arrange Florals: Using tweezers, place your pressed flowers face down into the wet resin. Add gold leaf flakes around the edges if desired.
- Top Off: Let this layer set for about two hours until tacky, then pour the final layer of resin to fully submerge the botanicals.
- Cure and Demold: Allow the coasters to cure undisturbed for $24$ to $48$ hours. Carefully peel them out of the silicone molds.
Tips and Variations
- Tip: Always work in a well-ventilated room and wear disposable gloves when handling un-cured epoxy resin.
- Variation: Tint the resin with a single drop of translucent alcohol ink in emerald green for a deep forest-pool effect.
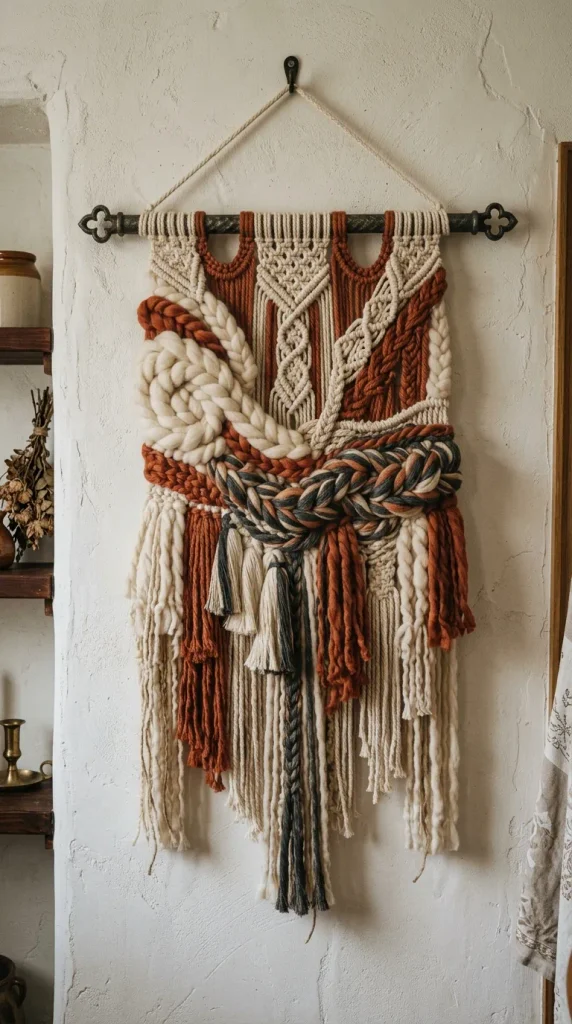
10. Textured Abstract Yarn Wall Hanging
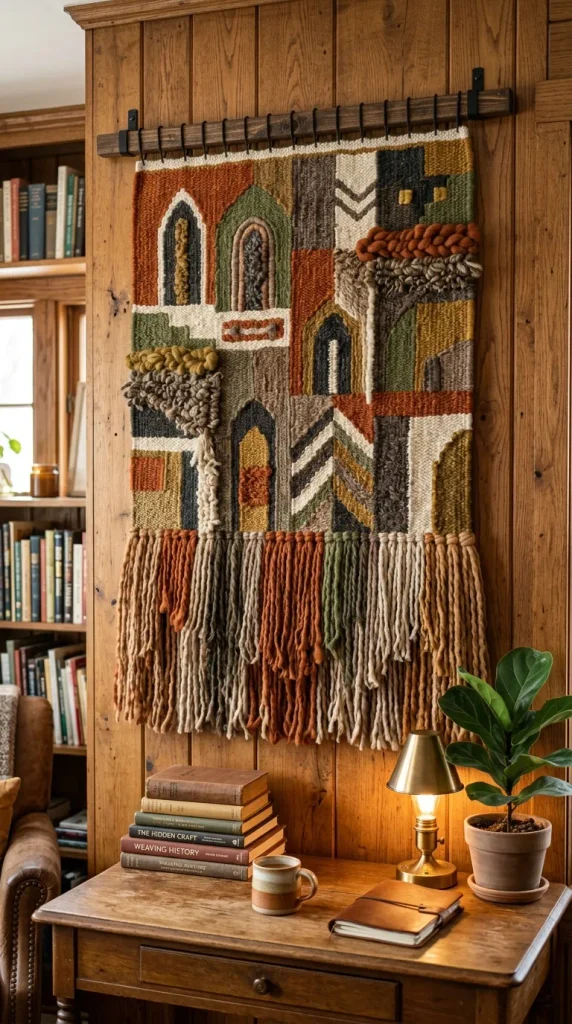
Yarn wall hangings introduce warmth, sound-dampening qualities, and plush tactile dimension to bare walls. This modern geometric design uses chunky wool roving and wooden dowels.
Materials Needed
- Smooth wooden dowel ($36$ inches long)
- Chunky wool roving yarn (natural cream and terracotta)
- Standard wool yarn in complementary tones
- Sharp scissors
- Comb (for brushing out fringe)
Step-by-Step Instructions
- Attach Foundation: Cut lengths of standard wool yarn and attach them to the wooden dowel using larks head knots across the entire width.
- Weave Patterns: Incorporate chunky wool roving by finger-weaving it over and under the vertical warp threads in alternating rows.
- Create Fringe: Cut multiple strands of yarn into equal lengths, fold them in half, and knot them along the bottom edge to create a lush, heavy fringe.
- Trim and Sculpt: Use sharp fabric scissors to trim the bottom fringe into a clean V-shape or a sweeping diagonal asymmetrical line.
- Comb Out: Gently brush out the yarn ends with a pet slicker brush or comb to create a soft, cloud-like texture.
Tips and Variations
- Tip: Hang the dowel on a wall bracket while working so you can step back and evaluate your design symmetry.
- Variation: Wrap sections of the wooden dowel with metallic gold embroidery floss for a subtle flash of contrast.
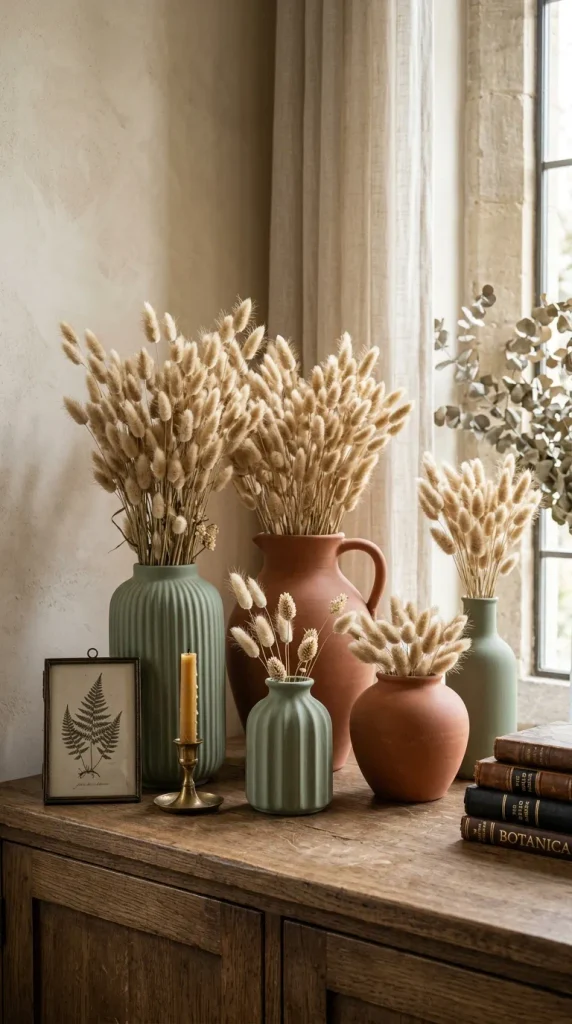
11. Modern Ceramic-Look Painted Glass Vases
Give thrifted glass bottles or jars a high-end matte ceramic finish using a simple household secret: mixing acrylic paint with baking soda.
Materials Needed
- Smooth glass bottles, jars, or vases
- Matte acrylic paint (terracotta, sage, oatmeal, or charcoal)
- Baking soda
- Disposable bowl and paintbrush
- Rubbing alcohol
Step-by-Step Instructions
- Clean the Glass: Wipe down your glass vases thoroughly with rubbing alcohol to remove oils, dust, and sticker residue.
- Mix Paint and Baking Soda: In a small bowl, combine $1/2$ cup of matte acrylic paint with $1$ to $2$ tablespoons of baking soda. Stir well until the mixture takes on a thick, mousse-like consistency.
- Apply First Coat: Using your paintbrush, apply a thick, textured coat of the paint mixture across the entire exterior of the glass using dab-and-stroke motions.
- Drying and Second Coat: Let the first coat dry for two hours. Apply a second coat to ensure complete, opaque coverage and enhanced chalky texture.
- Cure: Let the vase cure completely for $48$ hours before handling or filling with dried stems.
Tips and Variations
- Tip: Do not use these painted vases for fresh water arrangements, as the water can break down the porous baking soda paint layer; stick to dried pampas grass or faux stems.
- Variation: Blend two different paint colors while still wet on the vase surface to create a subtle, organic watercolor gradient.
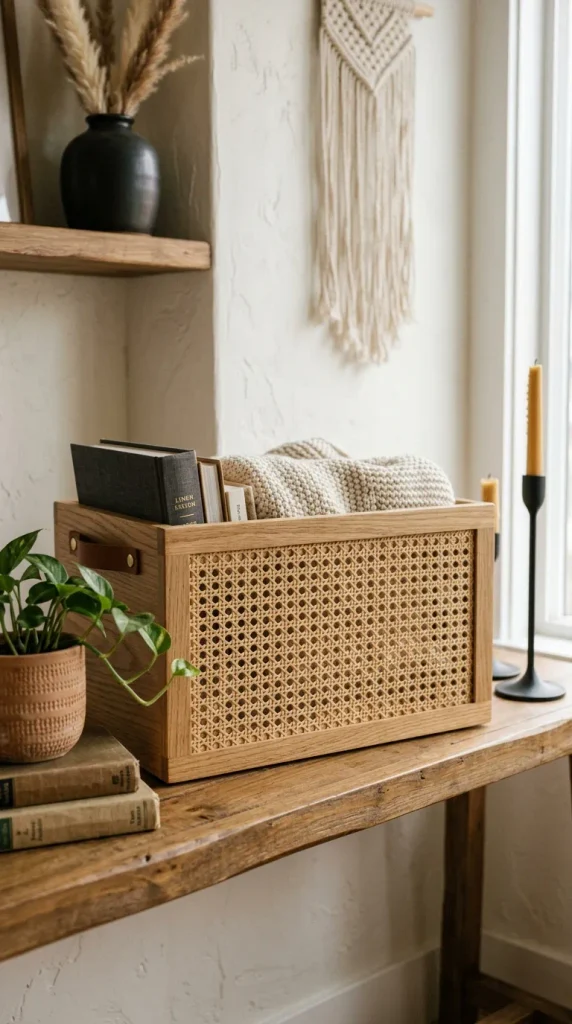
12. Rattan Webbing Storage Basket Upgrade
Transform plain, utilitarian plastic or canvas storage bins into chic boho-chic accent pieces using natural cane webbing and hot glue.
Materials Needed
- Plain wooden or cardboard storage boxes
- Roll of natural cane webbing (open mesh)
- Heavy-duty utility scissors
- Hot glue gun and glue sticks
- Wood stain or clear matte varnish
Step-by-Step Instructions
- Soak the Webbing: Submerge your cut piece of cane webbing in warm water for $30$ minutes to make it pliable and easy to work with without snapping.
- Measure and Cut: Measure the side panels of your storage box and cut the wet cane webbing to exact size using utility scissors.
- Apply Finish: Apply a coat of light wood stain to the cane webbing if you prefer an aged, vintage honey color, and let it dry.
- Glue to Box: Run a bead of hot glue along the perimeter of the box panel. Carefully press the dry cane webbing into the adhesive, pulling it taut to avoid sagging.
- Trim Edges: Clean up any protruding loose cane fibers with scissors for a neat, tailored finish.
Tips and Variations
- Tip: Work in sections when gluing large storage bins so the hot glue does not cool and harden before the webbing is pressed down.
- Variation: Attach miniature brass drawer pulls to the front of the bins for a faux-dresser drawer aesthetic.
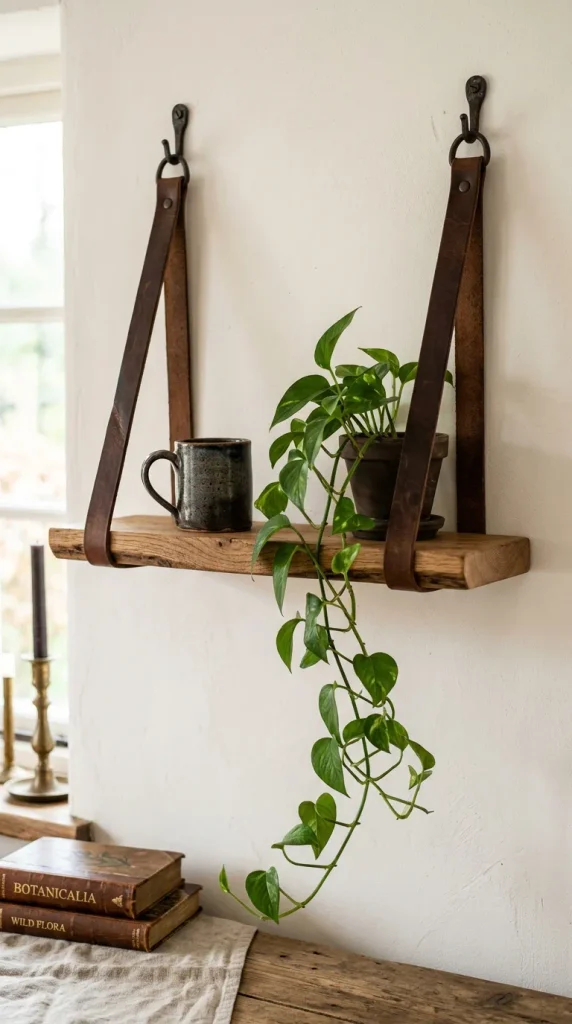
13. Minimalist Floating Wood and Leather Shelf
Floating shelves provide functional display space without visual bulk. Suspending a solid oak board from sleek leather straps creates an industrial-chic accent piece.
Materials Needed
- Smooth oak or pine board ($8$ inches wide, $24$ inches long)
- Two strips of genuine full-grain leather ($1.5$ inches wide, $18$ inches long)
- Heavy-duty brass screws and wall anchors
- Hole punch tool
- Sandpaper and wood oil
Step-by-Step Instructions
- Prepare the Wood: Sand your wooden board until buttery smooth and treat it with a nourishing natural wood oil or beeswax to seal the grain.
- Prepare Leather Straps: Fold each leather strip in half to form a loop. Use a leather hole punch to pierce through both overlapping ends of each strap.
- Mount to Wall: Hold the folded leather loops against the wall at your desired spacing. Insert brass screws through the punched holes and anchor them securely into wall studs.
- Insert Shelf: Slide your wooden board horizontally through both hanging leather loops, adjusting until level and centered.
Tips and Variations
- Tip: Ensure your wall anchors are rated for heavy loads if you plan to display heavy ceramic pitchers or stack thick art books on the shelf.
- Variation: Use dark chocolate brown leather paired with matte black hardware for a masculine, moody library aesthetic.
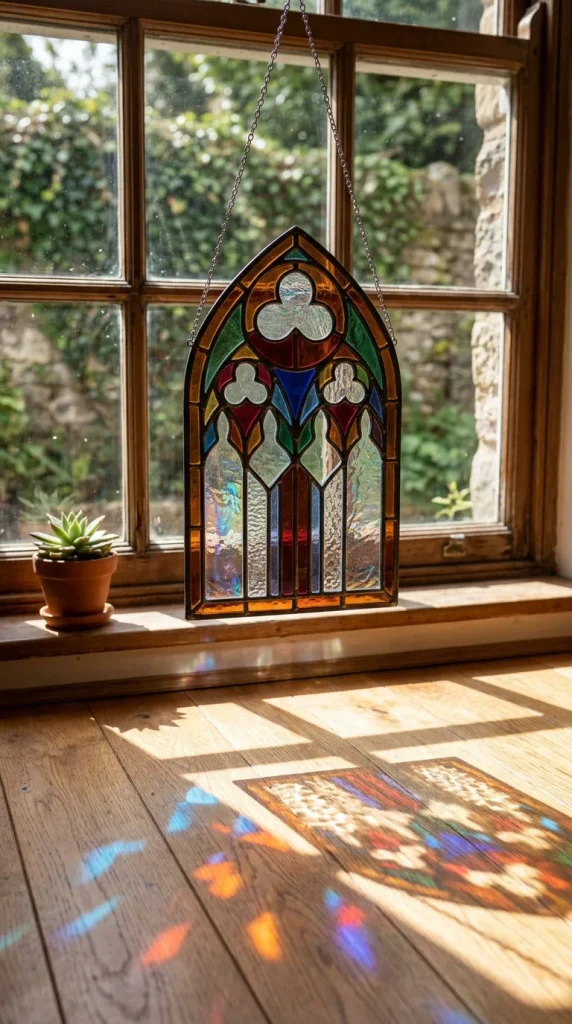
14. Pressed Metal and Glass Suncatcher
Catching the afternoon sunlight and casting dancing rainbows across your walls brings magical energy into a room. Crafting a geometric suncatcher using brass jump rings and stained glass pieces is surprisingly accessible.
Materials Needed
- Assorted pre-cut stained glass or iridescent acrylic geometric shapes
- Brass jump rings ($6\text{mm}$)
- Jewelry pliers
- Gold metallic chain ($24$ inches)
- Hanging suction cup or ceiling hook
Step-by-Step Instructions
- Layout Design: Arrange your glass and acrylic geometric shapes on a flat table in a vertical cascading chain pattern.
- Attach Jump Rings: Use your jewelry pliers to gently open the brass jump rings, loop them through the pre-drilled holes in the glass shapes, and clamp them securely closed.
- Connect Chain: Attach the top glass piece to a length of gold metallic chain using a final jump ring.
- Hang: Suspend the finished suncatcher directly in a sun-drenched south-facing window.
Tips and Variations
- Tip: Choose dichroic glass pieces that shift color depending on the viewing angle for maximum rainbow refraction.
- Variation: Incorporate small brass moon and star charms interspersed between the glass pendants for a celestial vibe.
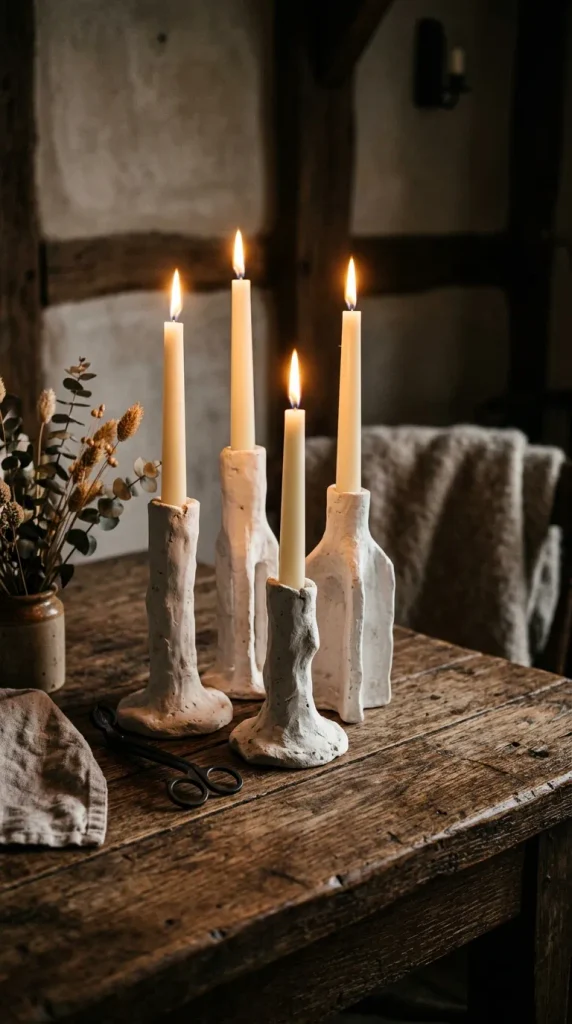
15. Minimalist Plaster Taper Candle Holders
Create architectural candle holders that look like ancient archaeological artifacts. Sculpting these from lightweight air-dry clay and finishing them with plaster creates a stunning organic silhouette.
Materials Needed
- Air-dry clay
- Rolling pin
- Standard taper candles (to use as sizing molds)
- Plaster of Paris and water
- Sandpaper
Step-by-Step Instructions
- Mold the Base: Roll out your air-dry clay and mold it into chunky, organic geometric shapes, cylinders, or pedestals.
- Press Candle Sizing: Press the bottom end of a taper candle firmly into the wet clay to create an indented socket that matches the candle diameter. Allow the clay base to dry fully for $48$ hours.
- Mix Plaster: Mix a small batch of Plaster of Paris with water until smooth.
- Coat the Base: Dip or brush the plaster mixture over the air-dry clay base to give it a seamless, stone-like monolithic skin.
- Final Polish: Once dry, sand the surface gently with fine sandpaper to achieve a chalky, matte plaster finish.
Tips and Variations
- Tip: Wrap plastic wrap around the bottom of your taper candle before pressing it into the wet clay so it does not get permanently stuck as the clay dries.
- Variation: Cluster three different heights together on a travertine tray for an elevated dining table centerpiece.
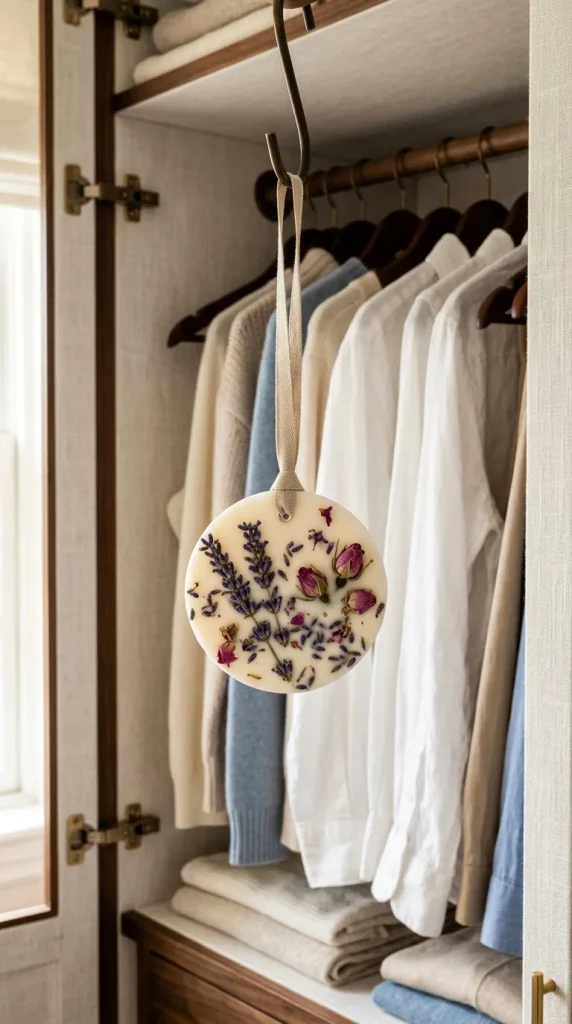
16. Natural Soy Wax Scented Wax Sachets
Infuse closets, drawers, and small rooms with subtle botanical aromas by crafting hanging soy wax sachets embedded with dried rose petals, lavender sprigs, and essential oils.
Materials Needed
- Soy wax flakes
- Silicone mold (muffin or floral shapes)
- Dried botanicals (rose buds, lavender, eucalyptus leaves)
- Essential oils (lavender, bergamot, or cedarwood)
- Ribbon or twine for hanging
- Straw or skewer
Step-by-Step Instructions
- Melt Wax: Melt your soy wax flakes in a double boiler, remove from heat, and stir in a high concentration of essential oils ($10$ to $15$ drops per sachet).
- Pour into Molds: Pour the warm wax into your silicone molds to a depth of about $1/2$ inch.
- Insert Hole Punch: Dip a straw or wooden skewer into the top edge of the liquid wax to maintain a clean hole for hanging once set.
- Embed Botanicals: As the wax begins to turn cloudy and opaque (just before fully setting), carefully arrange your dried flowers and herbs onto the surface, gently pressing them into the wax.
- Finish: Allow to harden completely, remove from the mold, thread your ribbon through the hole, and hang in your wardrobe.
Tips and Variations
- Tip: Do not add too many loose botanicals near the edges, or the sachet may crumble when handled.
- Variation: Use dried orange slices and cinnamon sticks for a warm autumn-inspired wardrobe refresher.
17. Abstract Line Art Embroidered Cushion Covers
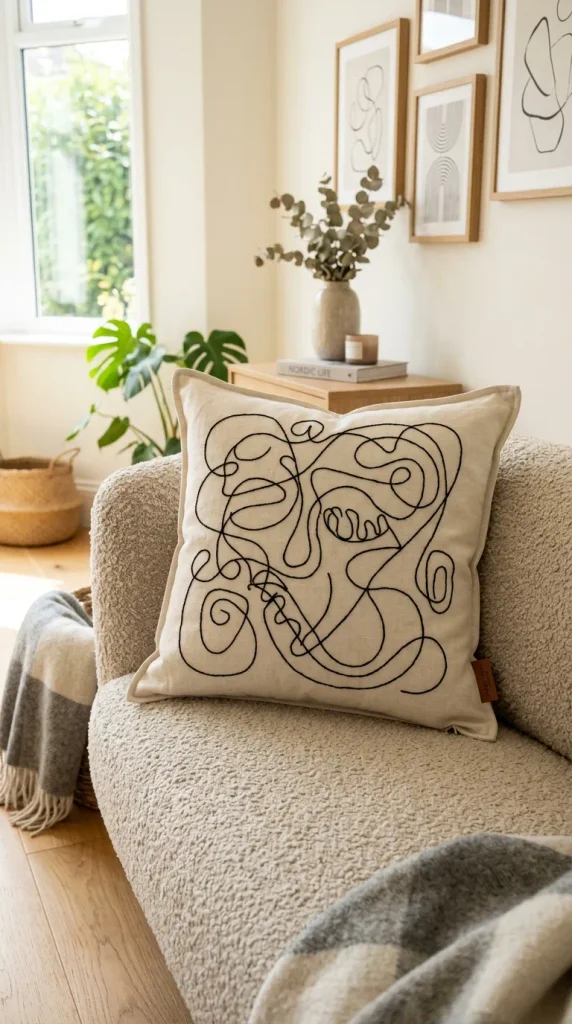
Textile art meets modern illustration in this embroidered cushion cover project. Stitching continuous-line abstract faces or organic plant motifs onto plain linen brings bespoke texture to your sofa.
Materials Needed
- Plain linen or cotton throw pillow cover with zipper
- Embroidery hoop
- Embroidery floss in contrasting color (black, rust, or cream)
- Embroidery needle and fabric transfer pencil
- Printed line art template
Step-by-Step Instructions
- Transfer Design: Slip your printed line art template inside the pillow cover, or trace it directly onto the front fabric panel using a fabric transfer pencil.
- Mount in Hoop: Stretch the front panel of the pillow cover taut inside your embroidery hoop, centering the traced illustration.
- Stitch the Design: Using a stem stitch or backstitch, carefully trace along your pencil lines with two strands of embroidery floss, keeping your stitches even and consistent.
- Secure Threads: Once complete, knot and trim all threads on the reverse side. Remove from the hoop, iron gently, and insert your pillow form.
Tips and Variations
- Tip: Use a light box or press your pillow cover against a sunny windowpane to easily trace intricate line drawings through thicker linen fabrics.
- Variation: Experiment with chunky crewel wool yarn instead of standard embroidery floss for a bold, raised, punch-needle-like texture.
18. Modern Wire Geometric Wall Hanging
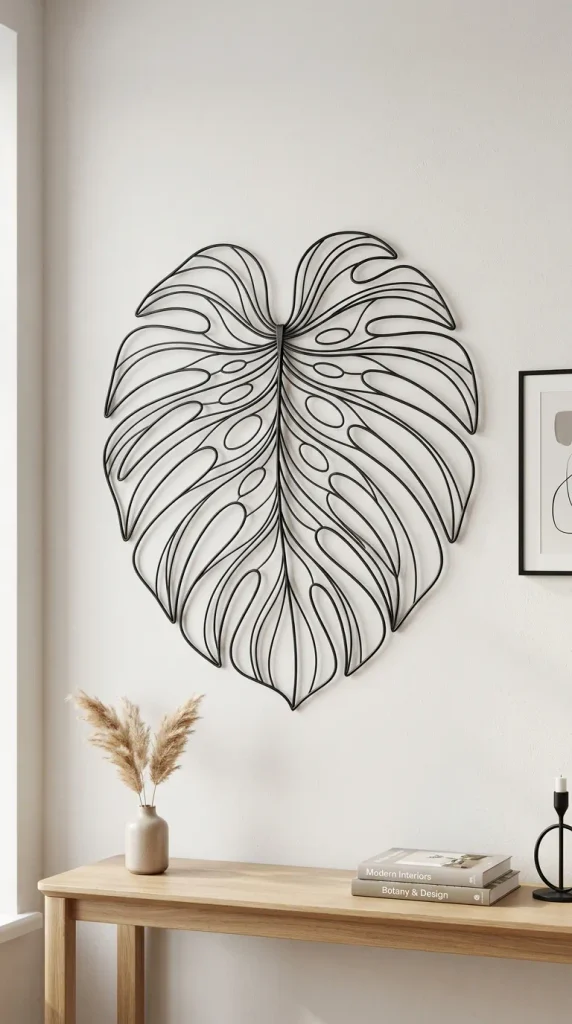
Wire art adds a sleek, minimalist, graphic punch to gallery walls. Bending black floral wire into continuous geometric or botanical silhouettes creates high-impact modern decor with minimal materials.
Materials Needed
- Thick black aluminum craft wire or floral wire ($14$-gauge)
- Wire cutters and needle-nose pliers
- Printed template of your chosen shape (e.g., monstera leaf, minimalist face, abstract sun)
- Clear fishing line or small brass finishing nails
Step-by-Step Instructions
- Trace Template: Lay your printed template flat on your work surface.
- Shape the Wire: Using needle-nose pliers and your hands, bend the thick aluminum wire directly over the lines of your template, maintaining continuous lines where possible.
- Secure Ends: Where wire ends meet, twist them securely together or wrap them tightly with thin black wire to lock the shape in place.
- Hang: Mount your wire sculpture to the wall using tiny brass finishing nails tapped in around the wire frame, or suspend it with invisible fishing line from a ceiling hook.
Tips and Variations
- Tip: Aluminum wire is wonderfully malleable and forgiving; do not worry if you need to bend and adjust your shape multiple times to get the curves just right.
- Variation: Spray paint the finished aluminum wire in a gleaming metallic brass or copper finish to match warm hardware accents in your home.
19. Hand-Painted Ceramic Trinket Dish
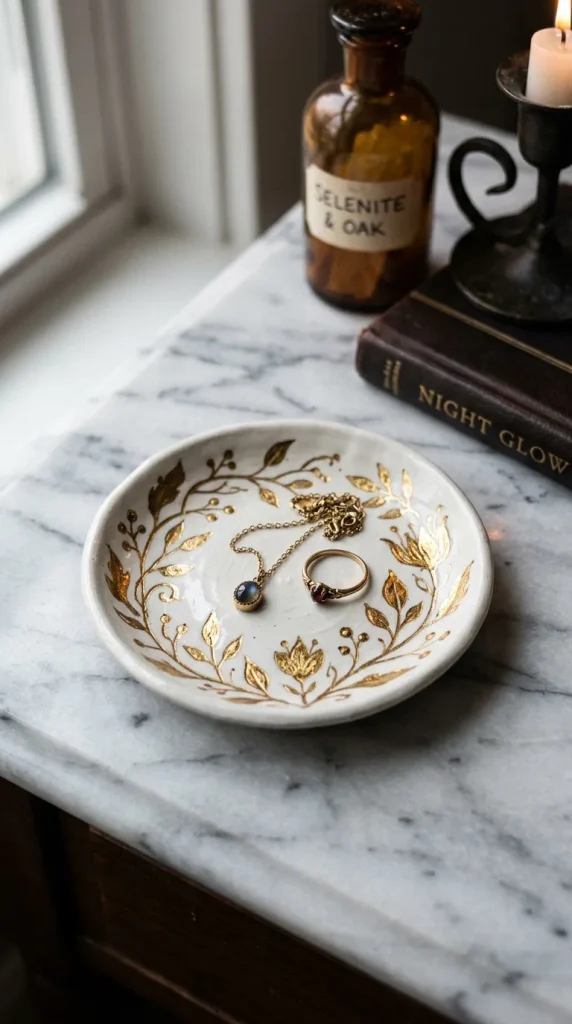
Personalize basic white ceramic ring dishes with delicate hand-painted botanical or abstract brush strokes using ceramic porcelain paint markers.
Materials Needed
- Plain white porcelain or ceramic dishes (rimmed trinket trays)
- Porcelain paint pens (gold, terracotta, olive green, or black)
- Cotton swabs and rubbing alcohol (for mistakes)
- Kitchen oven
Step-by-Step Instructions
- Clean Surface: Wipe down your ceramic trinket dish with rubbing alcohol to remove any manufacturing oils and ensure paint adherence.
- Plan Design: Sketch your design ideas lightly on scrap paper first. Common aesthetic choices include delicate olive branches, abstract squiggles, or botanical sprigs.
- Paint the Dish: Draw your design directly onto the ceramic dish using your porcelain paint pens. If you make a mistake, wipe it away immediately with a cotton swab dipped in rubbing alcohol.
- Cure in Oven: Let the painted dish air-dry for $24$ hours. Place it in a cold kitchen oven, set the temperature to $150^\circ\text{C}$ ($300^\circ\text{F}$), bake for $35$ minutes to heat-set the paint, and let it cool completely inside the oven.
Tips and Variations
- Tip: For a clean, modern look, paint only a delicate metallic gold rim around the outer edge of the dish.
- Variation: Write a meaningful initials monogram in elegant script inside the center of the dish for a personalized gift.
20. Minimalist Woven Wall Tapestry
Weaving on a simple cardboard loom introduces rich textile layering and warm color blocking into your interior space without requiring a bulky wooden floor loom.
Materials Needed
- Sturdy corrugated cardboard piece ($12 \times 16$ inches)
- Cotton warp thread
- Assorted wool yarns (boucle, roving, and smooth yarn in neutral earth tones)
- Wooden dowel or stick
- Tapestry needle and scissors
Step-by-Step Instructions
- Set Up the Loom: Cut small $1/4$-inch notches at the top and bottom edges of your cardboard piece. Wrap your cotton warp thread vertically around the cardboard through the notches, pulling it taut.
- Plain Weave Base: Thread your tapestry needle with base yarn and weave alternatingly over and under the vertical warp threads from side to side.
- Incorporate Textures: Switch between chunky wool roving, loop stitches, and rya knots to build up rich textural variation and color blocks.
- Remove from Loom: Once your weaving reaches your desired height, carefully cut the warp loops off the back of the cardboard loom and tie them securely in pairs.
- Attach Dowel: Slip your wooden dowel through the top loop edge to hang your finished tapestry securely on the wall.
Tips and Variations
- Tip: Pack your woven rows down gently with a kitchen fork as you go to ensure a tight, professional weave density.
- Variation: Leave long, untrimmed yarn tails hanging loosely on the front of the weaving for an organic, avant-garde shaggy texture.