1. Paper Plate Balloon-Powered Hot Air Balloons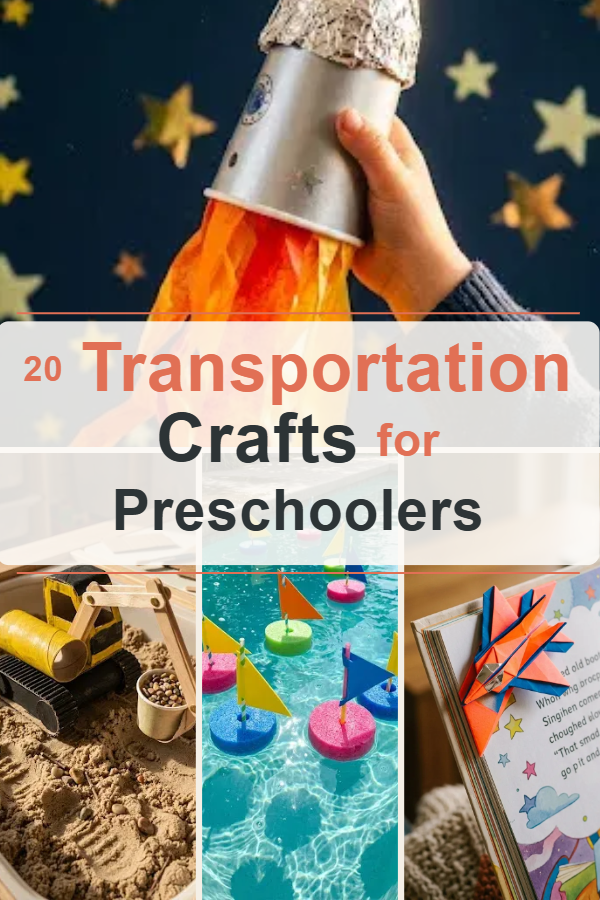
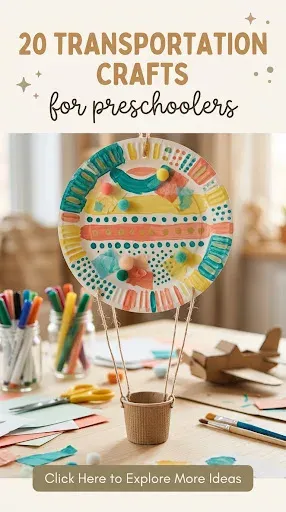
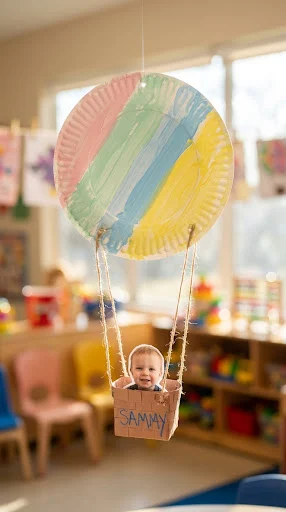
Transforming a simple paper plate into a soaring hot air balloon is one of the most enchanting transportation crafts for preschoolers. This activity seamlessly blends tactile art with a basic introduction to atmospheric transit. To begin, have your little artists paint a sturdy paper plate using vibrant washable acrylics or watercolors. They can paint cheerful stripes, polka dots, or whimsical geometric patterns. While the plates are drying, assist them in cutting out a small rectangular basket from brown construction paper or cardstock. Connect the basket to the bottom of the plate using two strands of colorful yarn or twin. To give it a three-dimensional pop that captures the imagination, paste a small photo of the child inside the basket, making them the pilot of their own colorful vessel. Hang these from the classroom ceiling at varying heights to create a captivating floating skyward display that parents will love sharing online.
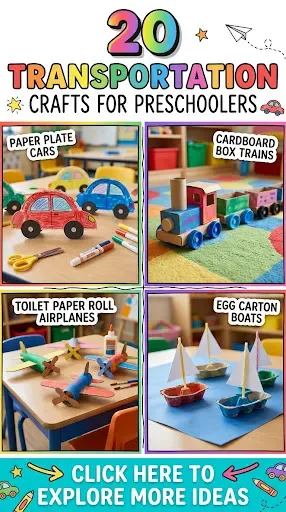
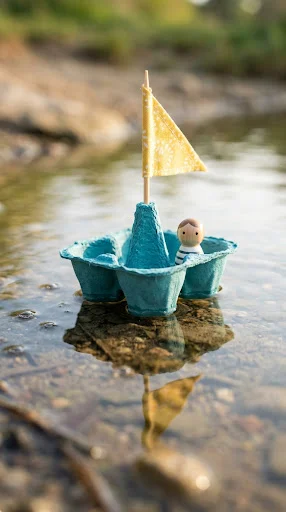
2. Egg Carton Rowboat Explorers
Nautical adventures begin in the craft room with recycled egg cartons transformed into delightful rowboats. Cut a standard cardboard egg carton into individual two-cup or four-cup sections, which form the hull of the boat. Preschoolers can paint the outside of their hulls with waterproof acrylic paint in bright aquatic shades like ocean blue, seafoam green, or sunshine yellow. Once dry, help the children punch a small hole in the center divider of the carton. Insert a wooden craft stick or a paper straw to serve as the mast. Attach a triangle of patterned scrapbooking paper as the sail. For an extra layer of imaginative play, children can use wooden clothespins painted to look like little sailors, complete with yarn hair and drawn-on life vests. These charming vessels can actually float for a short time in a shallow tray of water, offering a delightful sensory play element.
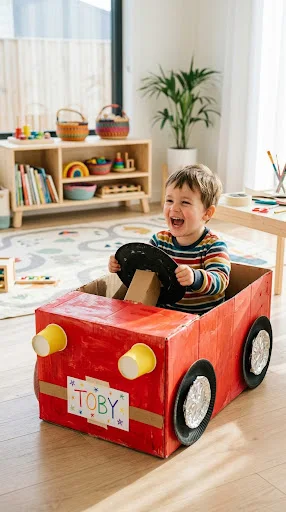
3. Cardboard Box Convertible Cruisers
Nothing sparks imaginative play quite like a classic cardboard box craft, and transforming large boxes into drive-in convertible cars is a rite of passage for young creators. Collect medium-to-large cardboard boxes and fold the top flaps inward to create a sleek, open-top vehicle body. Let the preschoolers use foam paint rollers to cover their cars in bold primary colors. While the paint dries, guide them in crafting accessories: paper plates painted black with silver foil centers make perfect wheels and steering wheels, while plastic cup bottoms painted yellow serve as glowing headlights. Attach the wheels and steering wheel using brass fasteners so they can actually spin. Add a personalized license plate on the back made from a strip of white cardstock where preschoolers can practice writing their names. These convertibles double as dynamic play props for a preschool “drive-in movie” day.
4. Popsicle Stick Soaring Biplanes
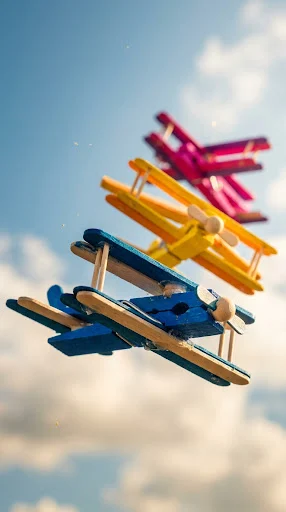
Classic wooden craft sticks offer endless structural possibilities, making them ideal for constructing vintage biplanes. For each airplane, preschoolers will need one wooden clothespin and three standard wooden craft sticks, plus one mini craft stick for the tail fin. Have the children paint their clothespins and craft sticks in contrasting, vibrant hues. Once the pieces are dry, assemble the plane by gluing one craft stick across the top of the clothespin’s clip end and another directly underneath it on the bottom, creating the classic double-wing structure of a biplane. Glue the third craft stick to the back end to form the horizontal stabilizer, and top it with the mini stick set vertically for the tail fin. Add a tiny foam bead or button to the very front clip to represent the propeller hub. These lightweight wooden flyers are perfect for small hands to maneuver through imaginative skies.
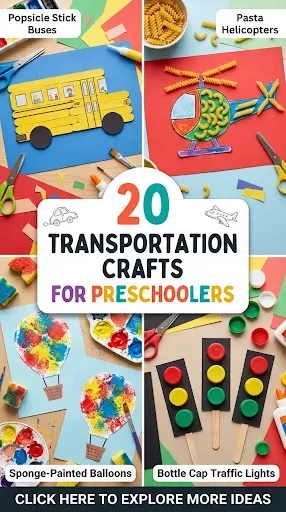
5. Sponge Painted Freight Trains
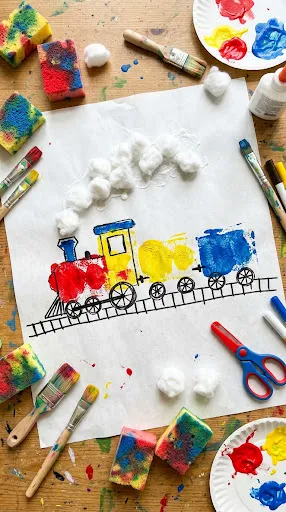
Freight trains carry endless fascination for early learners, and this sponge painting technique allows children to explore geometric shapes while creating a colorful locomotive. Cut inexpensive kitchen sponges into simple geometric shapes: large rectangles for freight cars, squares for the engine cab, circles for wheels, and triangles for the cowcatcher. Set out trays of washable tempera paint in high-contrast colors. Preschoolers dip the shaped sponges into the paint and stamp them onto a long strip of butcher paper, aligning the shapes horizontally to build a continuous train. Encourage them to count the cars as they stamp and identify the shapes they are using. Once the stamped paint dries, children can use black markers to draw the track lines underneath the wheels and add fluffy cotton ball “steam clouds” billowing from the engine’s smokestack.
6. Shape Collage Fire Engines
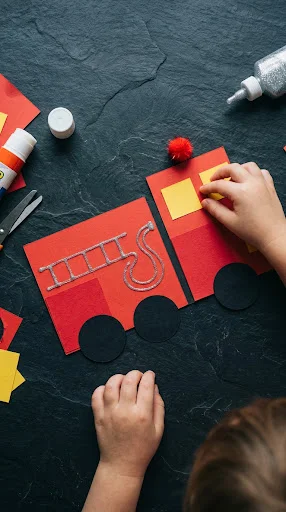
Fire trucks are iconic symbols of community helpers and emergency transportation, making them an engaging focal point for a shape-based craft project. Pre-cut a variety of construction paper shapes: a large red rectangle for the body, a smaller red square for the cab, black circles for wheels, a yellow square for the window, and thin white strips for the extension ladder. Preschoolers act as visual architects, assembling and gluing these shapes onto a dark background paper to construct their ultimate rescue vehicle. This activity reinforces shape recognition, spatial awareness, and fine motor precision. To add a delightful tactile finishing touch, provide silver glitter glue for children to draw the fire hose, and a red or orange pom-pom to paste on top as the flashing emergency beacon light.
7. Handprint Soaring Helicopters
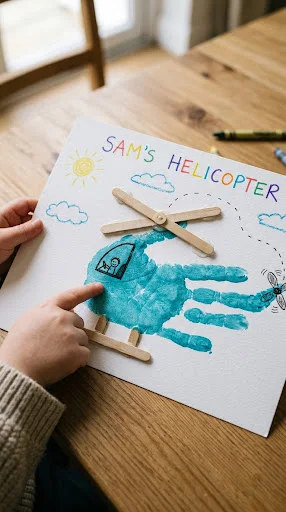
Keepsake crafts that incorporate a child’s handprint are always an absolute favorite among parents and teachers alike. This helicopter craft uses a painted handprint as the main fuselage of the aircraft. Paint the palm and four fingers of a child’s hand with bright washable paint, leaving the thumb clean, and press it horizontally onto a sturdy piece of cardstock. The palm forms the rounded cockpit, while the extended fingers form the body and tail boom of the chopper. Once the handprint dries, preschoolers can draw or glue on a curved windshield over the palm area. Provide wooden mini craft sticks or paper strips for them to glue crosswise above the handprint to create the high-speed main rotor blades, and add a small ‘X’ at the tips of the fingers for the tail rotor.
8. Bubble Wrap Printed Sailboats
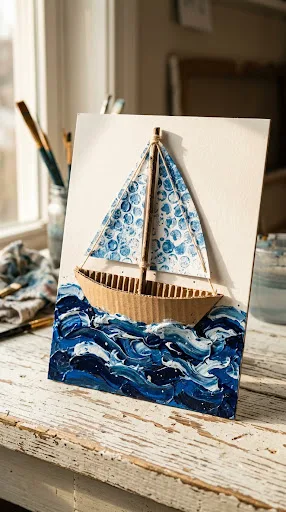
Textured printing techniques bring a wonderful dynamic quality to art time, and bubble wrap creates a phenomenal visual representation of water and textured sails. Cut bubble wrap into triangle shapes to represent sails. Preschoolers can paint the raised bubble side with bright shades of acrylic paint and press it onto paper to create a stunning dotted patterned sail print. For the hull of the sailboat, use a half-circle cut from textured corrugated cardboard or wood-grain contact paper. Assemble the sailboat on a painted background by gluing the hull and sail onto a wooden skewer or paper straw mast. Children can then use blue tempera paint and dynamic swooping paintbrush strokes underneath the boat to create crashing ocean waves, giving the impression of a nautical journey across a wind-swept sea.
9. Paper Cup Space Rockets
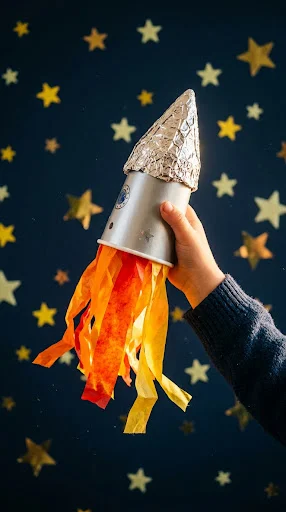
Blast off into sensory crafting with simple paper cup space rockets designed for vertical flight adventures. Start with a plain paper or foam cup turned upside down to serve as the rocket fuselage. Preschoolers can decorate their cups using shiny metallic stickers, foil tape, and washable markers. Cut a circle out of silver cardstock, remove a small wedge, and twist it into a cone to glue onto the top of the cup as the nose cone. For the dramatic rocket propulsion, have children cut strips of red, orange, and yellow tissue paper. Glue these fiery streamers inside the bottom rim of the cup so they dangle down. When preschoolers swoop their rockets through the air, the fluttering tissue paper creates a mesmerizing visual effect of rocket fuel thrusting the vessel into outer space.
10. Plastic Bottle Submarines
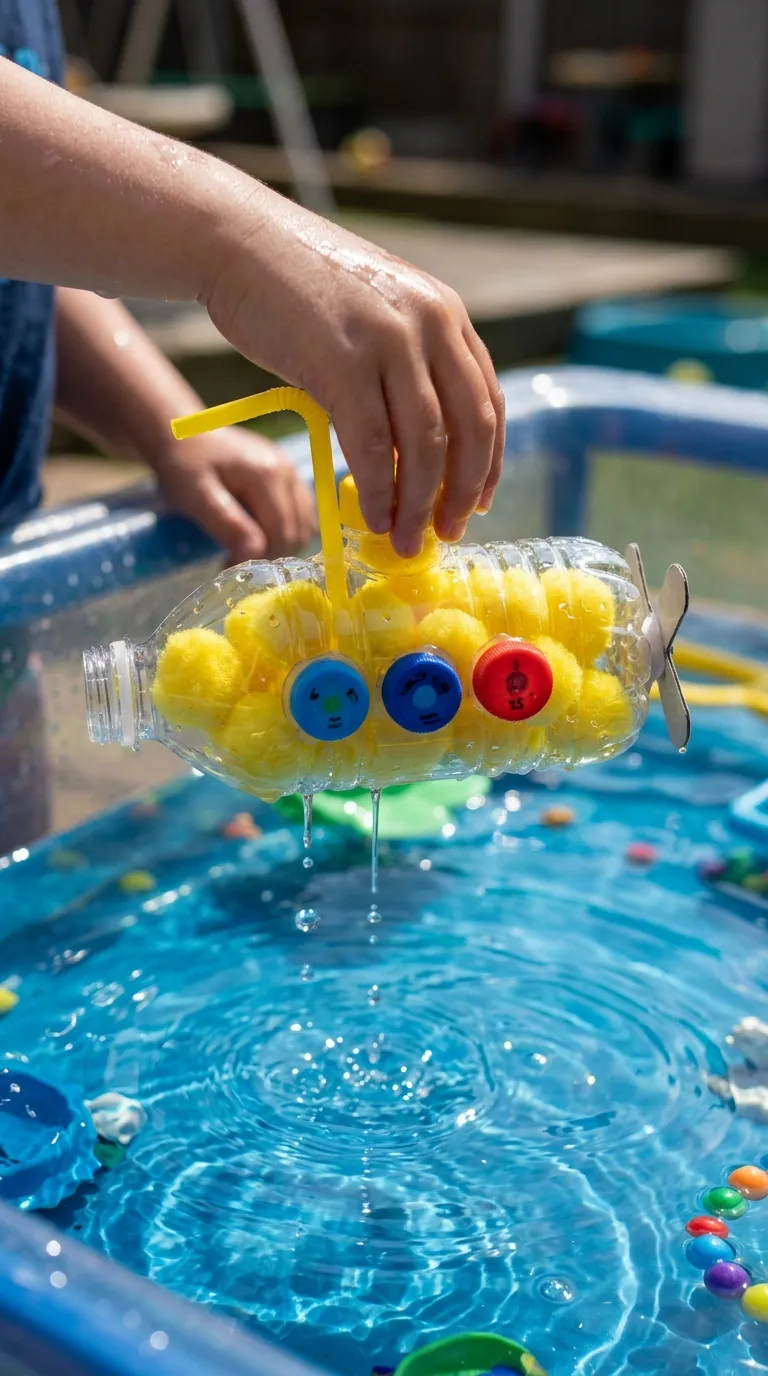
Explore deep-sea aquatic transit by upcycling clear plastic water or soda bottles into whimsical yellow submarines. Provide clear plastic bottles with their labels removed. Preschoolers can fill the inside of the bottle with yellow tissue paper squares, pom-poms, or yellow shredded paper, which eliminates messy paint drying time and keeps the project lightweight. Seal the cap tightly with colored duct tape. Help the children attach circular plastic bottle caps along the side of the bottle using strong double-sided tape to serve as sub-aquatic portholes; inside each cap, paste a small picture of an ocean animal or the child’s face. Attach a bent bendy straw to the top cap area to function as the periscope, and cut a small propeller shape from foam board to affix to the bottle’s tail end.
11. Washi Tape Transportation Tracks
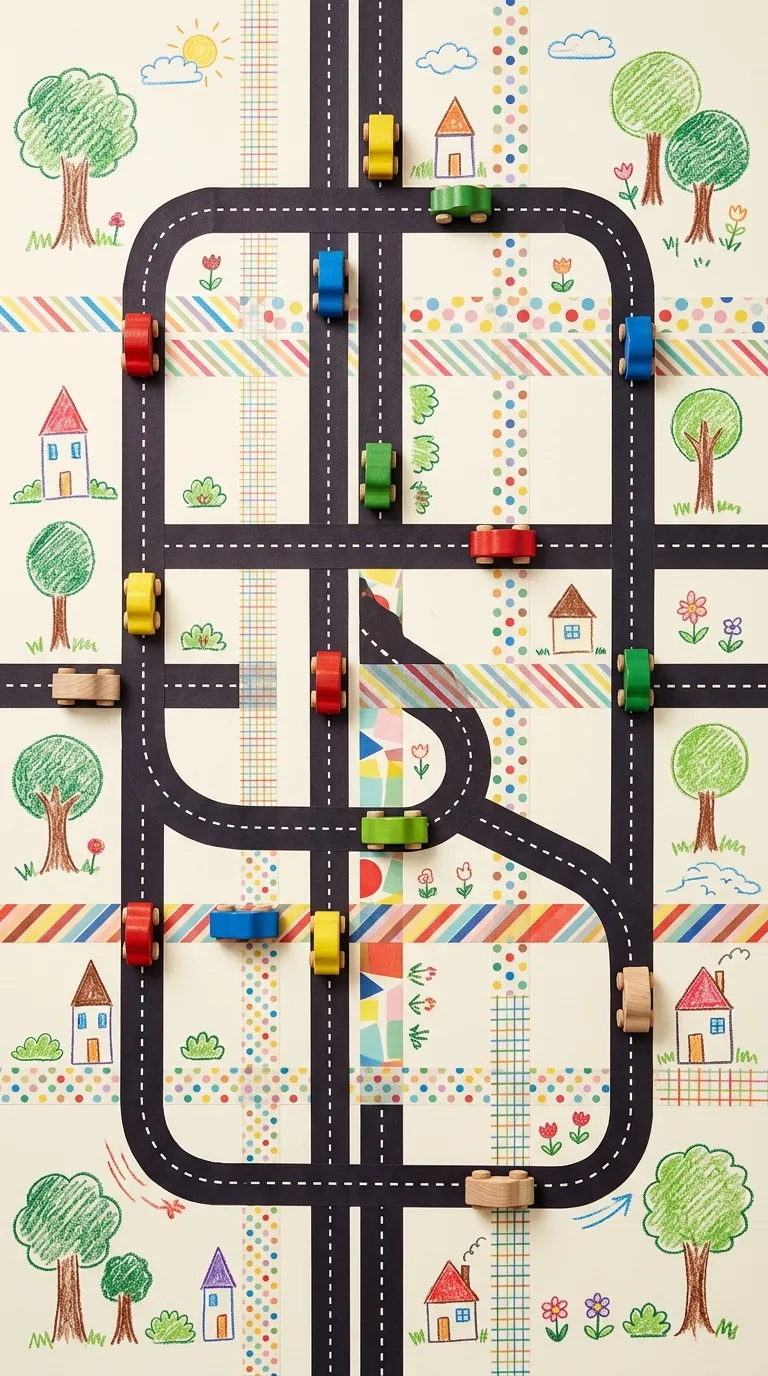
Washi tape art combines fine motor control with geometric design, giving preschoolers total creative control over road and track layout. Provide large sheets of heavy cardstock or poster board and an assortment of low-tack patterned washi tapes, including black-and-white road-patterned tape. Preschoolers can tear or cut strips of tape and press them down onto the paper to map out complex intersections, winding highways, train tracks, and airport runways. This activity offers brilliant fine motor practice as little fingers learn to peel, stick, and tear tape. Once the road map is laid out, children can draw surrounding scenery like trees, houses, and gas stations with markers, and then drive small toy vehicles along their custom-designed transportation networks.
12. Foil Embossed Race Cars
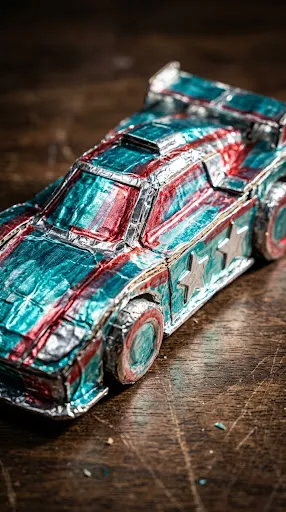
Introduce a fascinating metallic element to preschool crafting with aluminum foil embossed race cars that gleam under the light. Cut out a sleek race car silhouette from thick chipboard or corrugated cardboard. Let preschoolers press adhesive foam stickers—such as stars, numbers, and geometric shapes—onto the cardboard car body to create raised, textured details. Next, wrap the entire cardboard car tightly in standard household aluminum foil, smoothing it down gently around the foam stickers so the design pops through in relief. Provide colorful permanent markers or specialized glass paint markers for children to color over the foil surface. The result is a vibrant, shimmering, high-tech race car that looks polished, modern, and delightfully reflective.
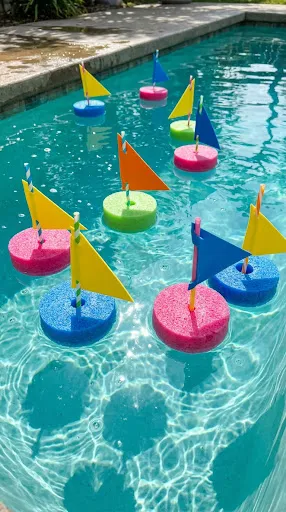
13. Pool Noodle Sailboats
Water-safe crafts provide endless outdoor and sensory bin entertainment. These simple pool noodle boats are incredibly easy for preschoolers to assemble and genuinely float in water. Slice a foam pool noodle into two-inch thick circular discs or long slices to form the buoyant hull. Preschoolers can select a plastic drinking straw or wooden craft stick for the mast. Help them thread the mast through two pre-punched holes in a foam craft sheet cut into a sail triangle, creating a curved sail that catches the breeze. Push the bottom of the mast firmly into the center of the pool noodle slice. These boats are indestructible, highly colorful, and perfect for testing in a water table, bathtub, or backyard splash pad during warm weather instructional days.
14. Clothespin and Button Steam Engines
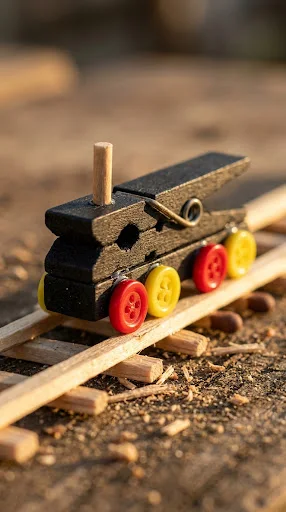
Focusing on classic construction techniques, this miniature steam engine craft combines wooden spring clothespins, craft sticks, and colorful buttons into an adorable vintage locomotive. Preschoolers begin by painting a wooden clothespin with rich black tempera paint. Once dry, glue a short section of a wooden dowel or a cut-off plastic straw vertically to the front end to serve as the smokestack. Glue four small, matching colored buttons onto the bottom sides of the clothespin to act as the iron train wheels. A small square of cardstock glued to the back forms the engineer’s cab. This tactile craft develops hand-eye coordination and precision gluing while giving children a charming, pocket-sized train to take home.
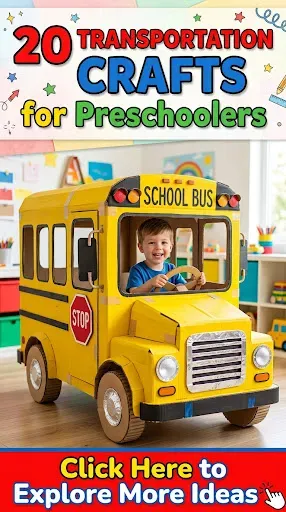
15. Paper Plate School Bus
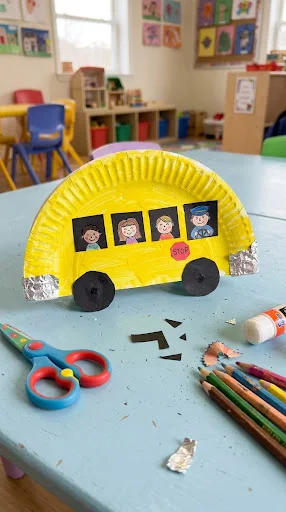
The yellow school bus is one of the most recognizable icons of childhood transportation, and a paper plate provides the perfect foundation for a simple, charming representation. Cut a standard paper plate in half to create the curved body of the bus. Preschoolers can paint the entire plate half with bright yellow washable paint. Once dry, help them glue black construction paper squares along the straight upper edge to represent the tinted windows. Inside these window squares, children can stick small self-portrait drawings or photos of their classmates. Add two black paper circles at the bottom for heavy-duty rubber tires, a red circle for the stop sign on the side, and silver foil strips for the front and rear bumpers, creating a heartwarming tribute to their daily commute.
16. Footprint Rocket Ships
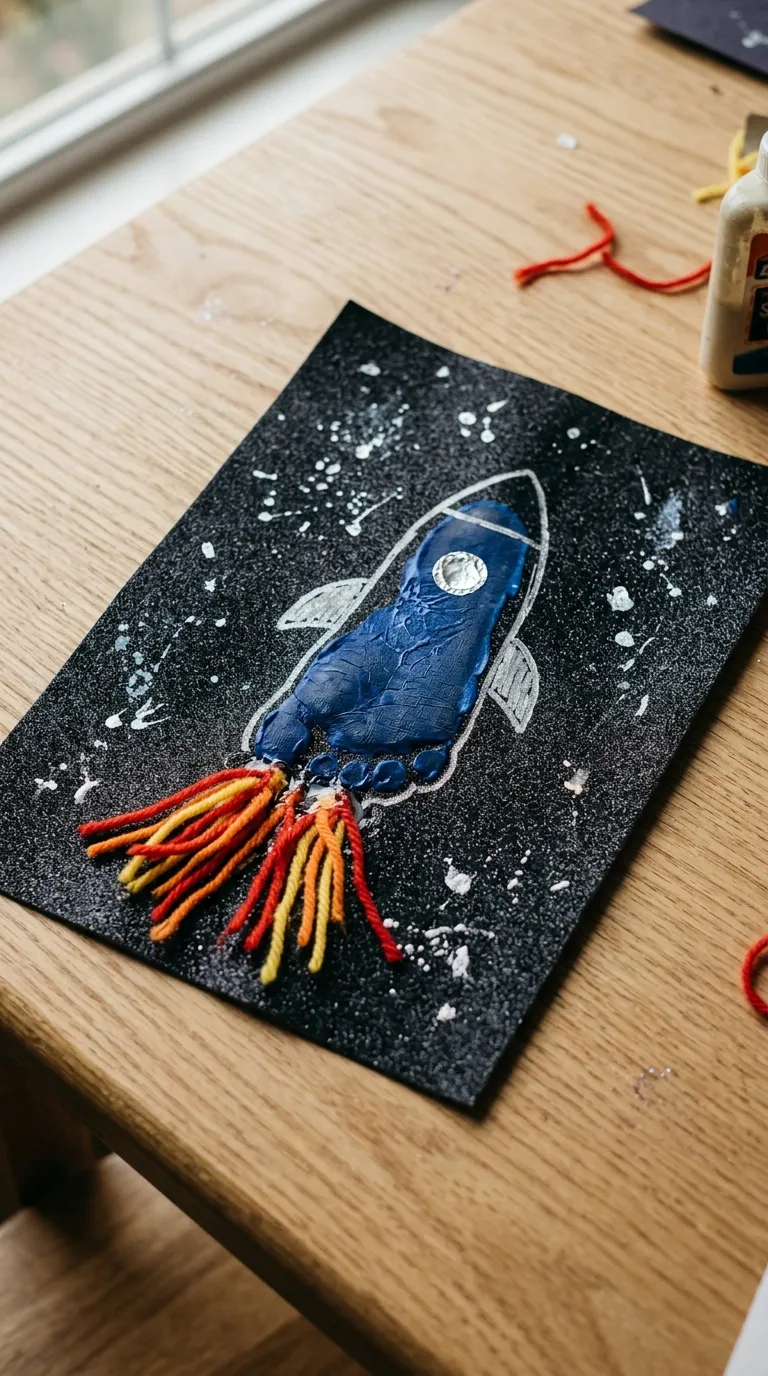
Footprint crafts capture a precious moment in time, making them treasured keepsakes while engaging children in sensory painting. Paint the bottom of a child’s foot with dark blue or silver non-toxic washable paint and press it firmly onto a black piece of cardstock. The rounded heel forms the top nose cone of the rocket, while the toes point downward toward the blast-off zone. Once the paint dries, preschoolers can use metallic paint pens to draw triangular fin stabilizers extending from the sides of the footprint arch. Glue bright strands of red and yellow yarn or glitter at the heel-toe base to depict the intense fiery exhaust during launch. Surround the footprint rocket with star-shaped stickers or silver paint splatters to complete the deep space background.
17. Cardboard Tube Construction Diggers
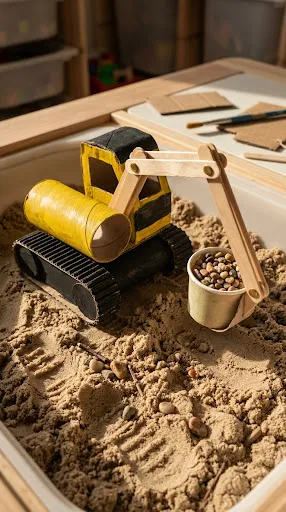
Heavy machinery and construction vehicles are endlessly captivating to young minds. This three-dimensional digger craft uses recycled paper towel tubes to build an impressive excavator. Preschoolers paint two toilet paper tubes black to serve as the crawler tracks, and one larger paper towel tube bright construction yellow to form the main excavator body. Glue the yellow tube horizontally across the top of the two black tracks. To create the digging arm, attach two craft sticks together with a brass fastener so the arm can actually pivot up and down. Glue a small paper nut cup or cut-up egg carton cup to the end of the arm to serve as the excavator bucket. Children can fill the bucket with small dried beans or gravel during imaginative construction site play.
18. Origami Corner Bookmark Jet Flyers
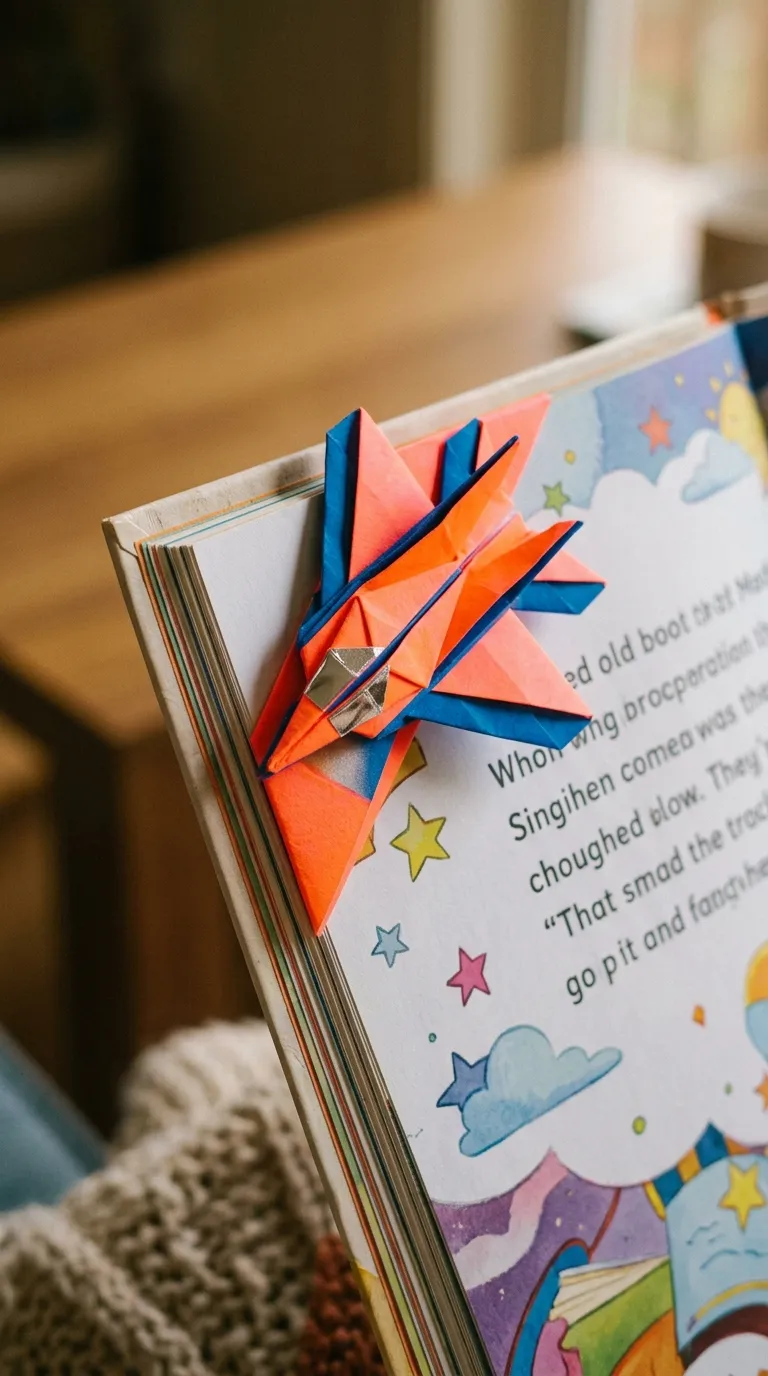
Combine basic paper-folding skills with practical literary tools by making supersonic jet fighter corner bookmarks. Start with a square piece of durable origami paper in bold neon shades. Guide the preschoolers through simple, foundational folds to create a triangular corner pocket that slides neatly over the page of a book. Once the basic pocket base is formed, children can fold and glue on pointed paper wings, tail fins, and a pointed nose cone to transform the pocket into a sleek supersonic jet. They can detail their jets with silver foil stickers, window cockpits, and racing stripes. This craft subtly encourages early reading habits while providing an approachable, frustrating-free introduction to the ancient art of paper folding.
19. Mosaic Tile Police Cars
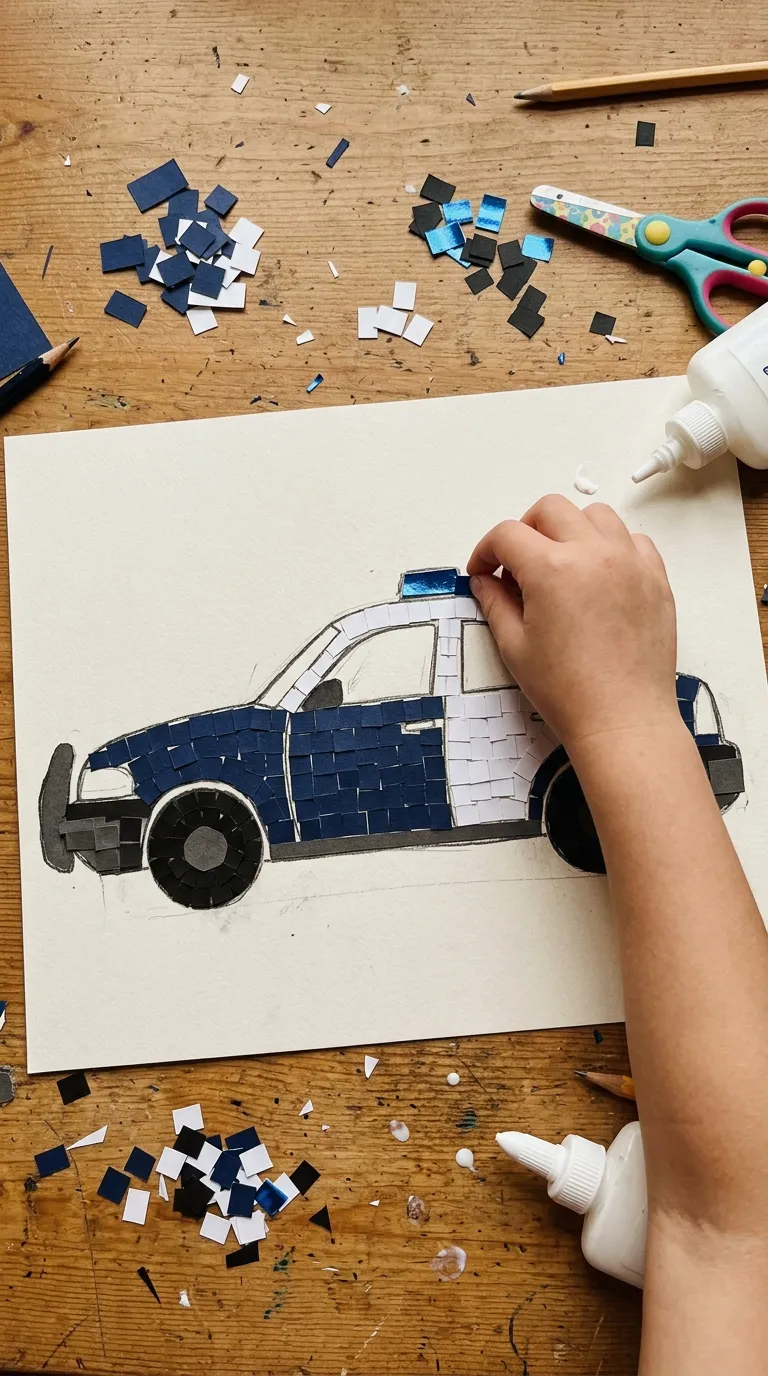
Mosaic crafting is an exceptional way to boost spatial awareness, visual discrimination, and fine motor grip in early childhood. Draw a clear outline of a police cruiser on a sheet of heavy cardstock. Provide pre-cut small squares of black, white, and blue construction paper. Preschoolers dip their glue sticks into the outline and meticulously place the colored paper mosaic tiles within the designated sections—black tiles for the lower body and wheels, white tiles for the door panels, and blue tiles for the roof line. The process of arranging the small tiles builds hand endurance and concentration. Complete the mosaic police car by adding a bright red and blue metallic foil square on top for the emergency light bar.
20. Cork Stamped Cable Cars
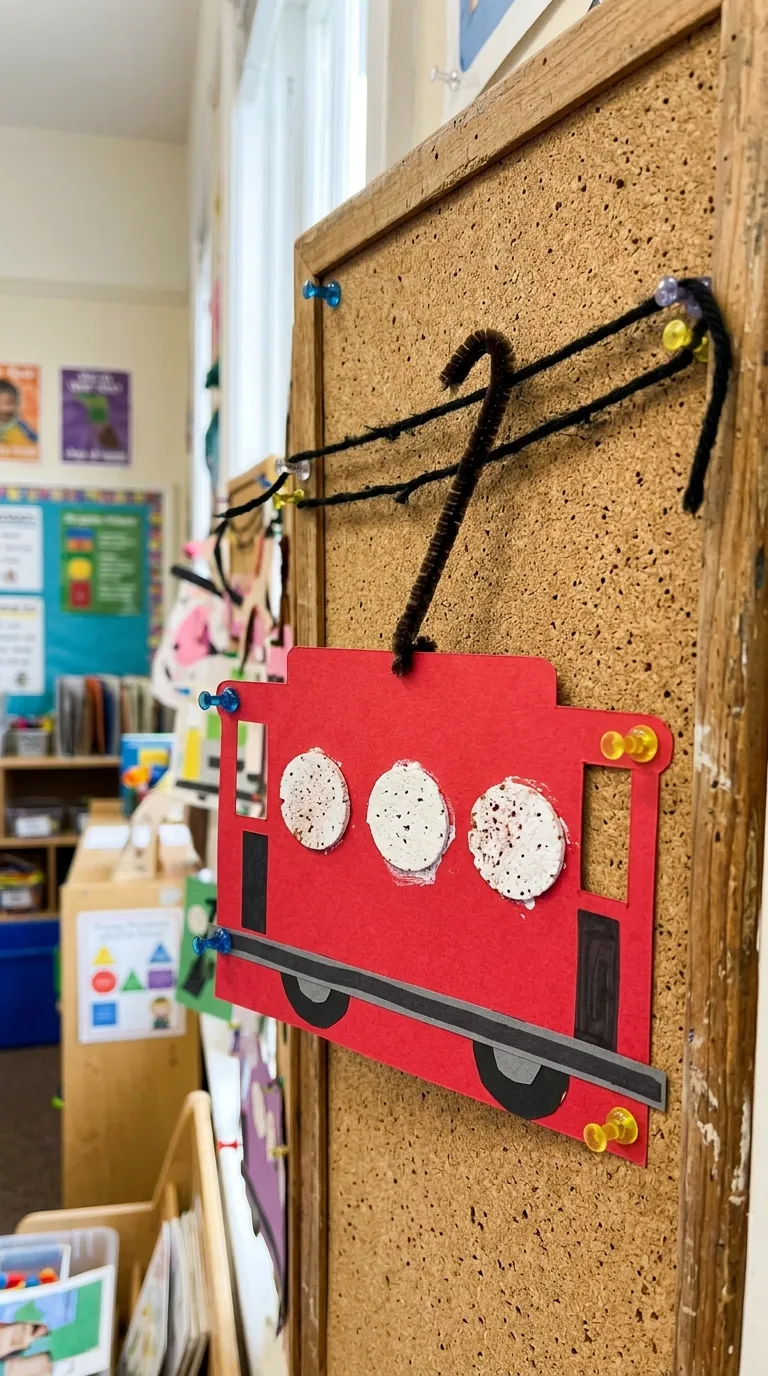
Transport preschoolers to the historic, rolling hills of San Francisco with this vibrant cable car artistic project. Preschoolers begin by painting a large red rectangular cardstock cutout to serve as the body of the trolley car. To create the classic rows of open windows, children use wine corks as stamps, dipping the flat circular end into white or yellow paint and pressing them in neat rows across the upper portion of the cable car. Once dry, they can draw fine black lines through the windows to represent the passengers and frames. Glue a thin black yarn string across the top of the artwork to represent the overhead cables, and show the kids how to attach a black pipe cleaner hook extending from the cable car roof to connect to the wire above.