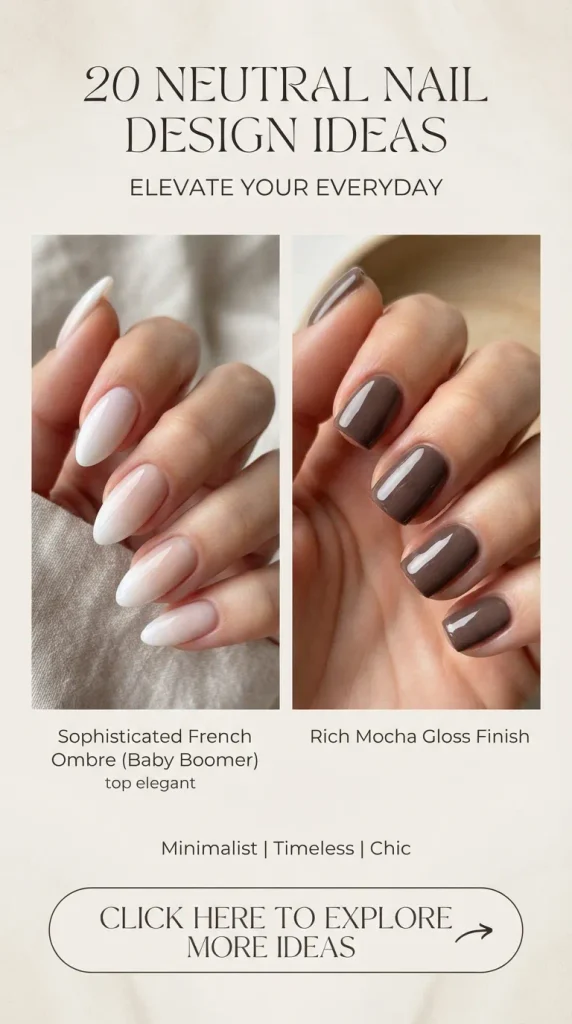
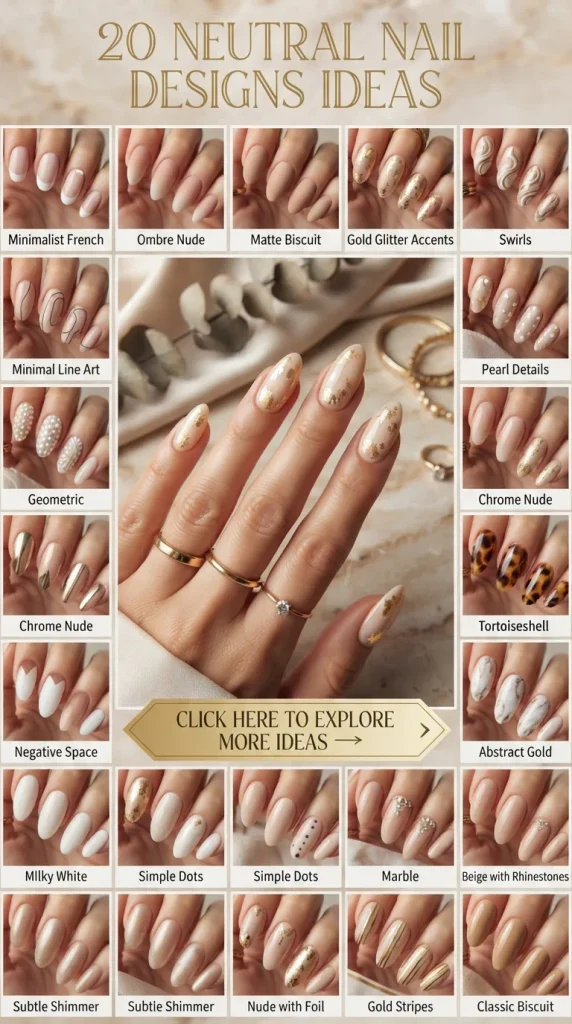
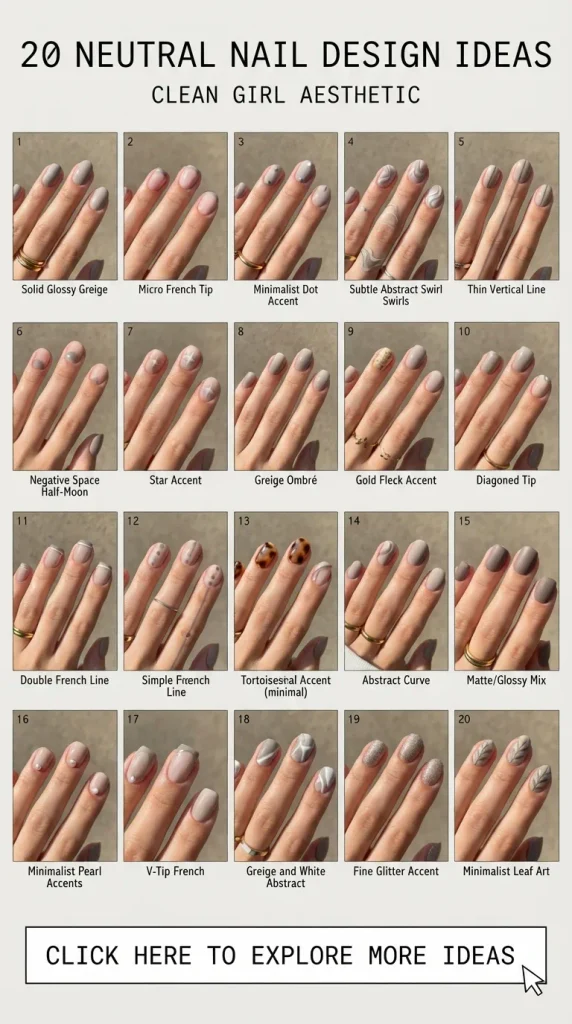
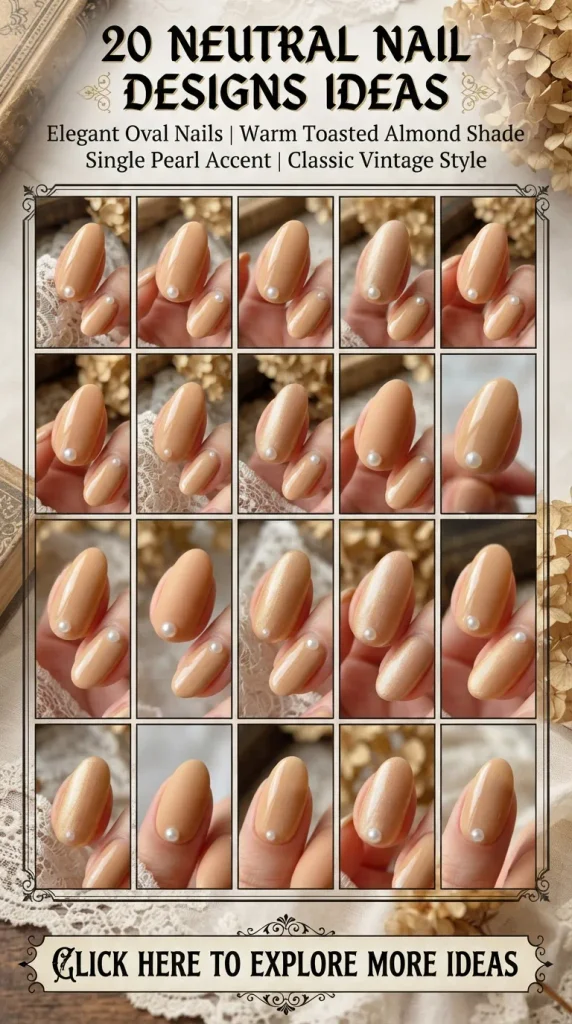
20. Glazed Buttercream with Subtle Pearl Accents
A rich, buttery cream shade finished with an angelic sheen is embellished with a single, flat-backed micro-pearl nestled at the base of the ring finger. It offers bridal-level elegance paired with everyday versatility.
How to Make It: Step-by-Step Professional Application Guide
Achieving salon-quality neutral nails at home requires patience, precision, and the right layer management. Follow this comprehensive routine for a flawless finish.
Step 1: Structural Preparation
Begin by removing any old polish with a non-acetone remover to protect the nail plate. File your nails in a single direction to prevent splitting, shaping them into your desired contour—almond and oval shapes work exceptionally well with neutral tones to elongate the hand. Gently buff the surface using a high-grit buffer to erase ridges where polish might pool or streak.
Step 2: Cuticle Care and Dehydration
Apply a cuticle softener, gently push back the skin using a stainless steel or wooden pusher, and carefully nip away any dead hangnails. Wipe the entire nail surface with rubbing alcohol or a specialized nail dehydrator to eliminate lingering oils. This step is critical for preventing premature lifting, especially if you are using gel products.
Step 3: Base Coat Application
Apply a thin, even layer of ridge-filling base coat, sealing the free edge of the nail to lock in the product. If using gel, cure under your LED lamp for 30 seconds. A ridge-filling formula is especially vital for neutral manicures because sheer polishes tend to highlight underlying texture flaws.
Step 4: Building the Color Foundation
Apply your first coat of neutral polish using the three-stroke method: one stroke down the center, one down the left, and one down the right. Keep coats thin to avoid bubbling or streaking. Cure or let air dry, then apply a second coat for even opacity. If your design requires sheer translucency, two coats are usually ideal; for opaque nudes, a third thin coat may be necessary.
Step 5: Artistry and Embellishments
If your chosen design incorporates chrome powders, rub them gently onto the cured tacky layer using a sponge applicator before dusting off excess particles. For fine lines, gold foil, or stickers, apply them now using precision tweezers and seal them gently with a clear detail layer.
Step 6: The Finishing Seal
Cap your masterpiece with a high-gloss top coat or a velvety matte top coat. Ensure you seal the free edge to protect against chipping. Wipe away any tacky inhibition layer with alcohol if using gel, and finish by massaging nourishing cuticle oil into the surrounding skin for a camera-ready, hydrated finish.
Tips, Variations, and Maintenance Secrets
Maintaining the pristine look of a neutral manicure requires a few strategic habits, as light colors are prone to staining from dark clothing, coffee, or spices.
- Preventing Discoloration: If you love cooking with turmeric or wearing dark indigo denim that transfers dye, always apply an extra protective top coat mid-week, or wear gloves during household cleaning tasks.
- Customizing Your Shade: If a store-bought neutral looks too pink or too yellow against your skin, layer a sheer milky white over a beige lacquer to instantly neutralize undertones and create a bespoke custom shade.
- Quick-Fixing Chips: Neutral manicures are the easiest to touch up. Keep your base neutral polish in your bag; a quick dab over a minor tip chip followed by a fast-drying top coat buys you several days before a full redo is required.
- Hydration is Key: Neutral nails look best when paired with well-moisturized hands. Incorporate a rich hand cream containing shea butter and vitamin E into your nightly routine to keep cuticles supple and youthful.
More ideas to come in future addition