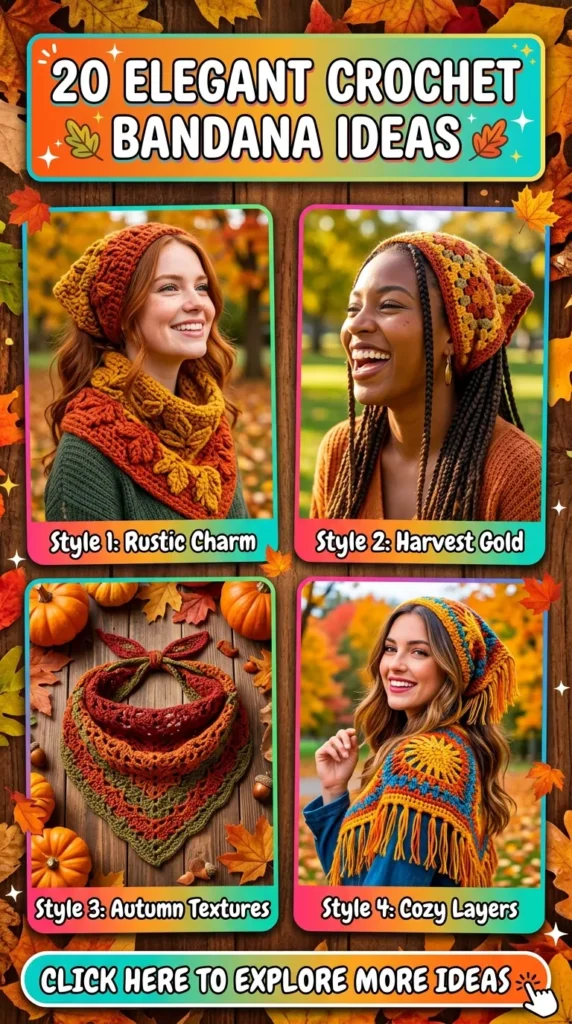
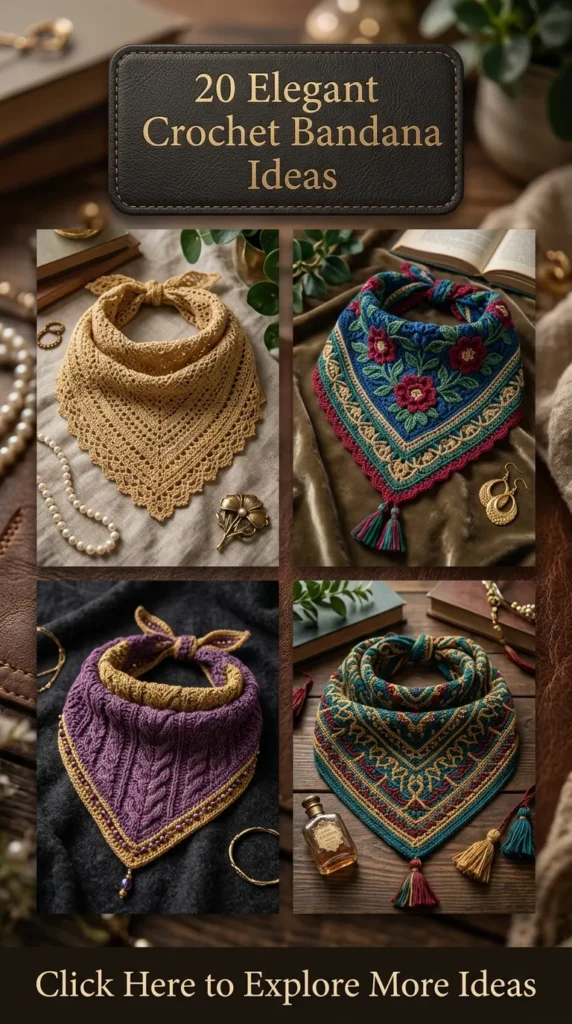
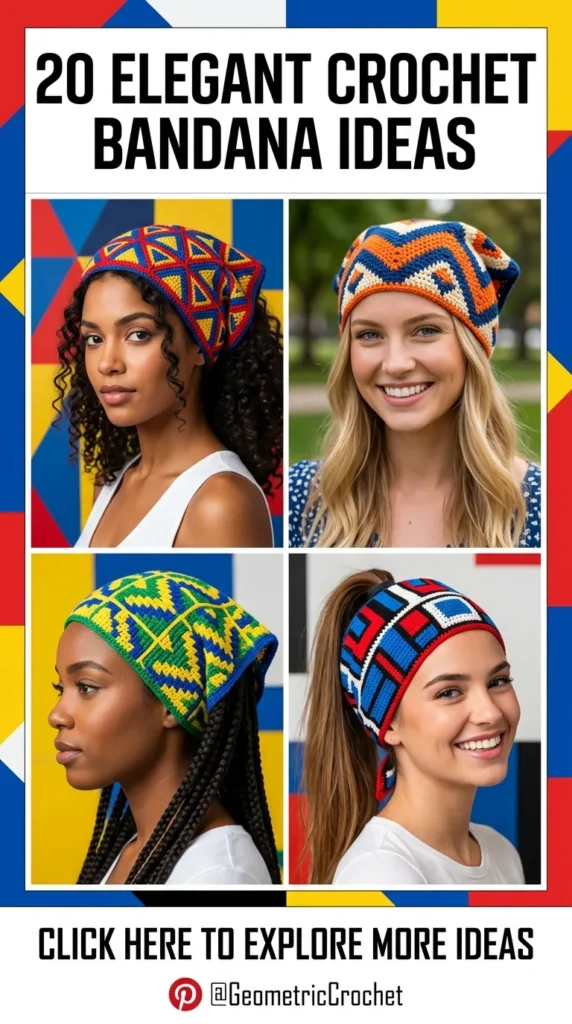
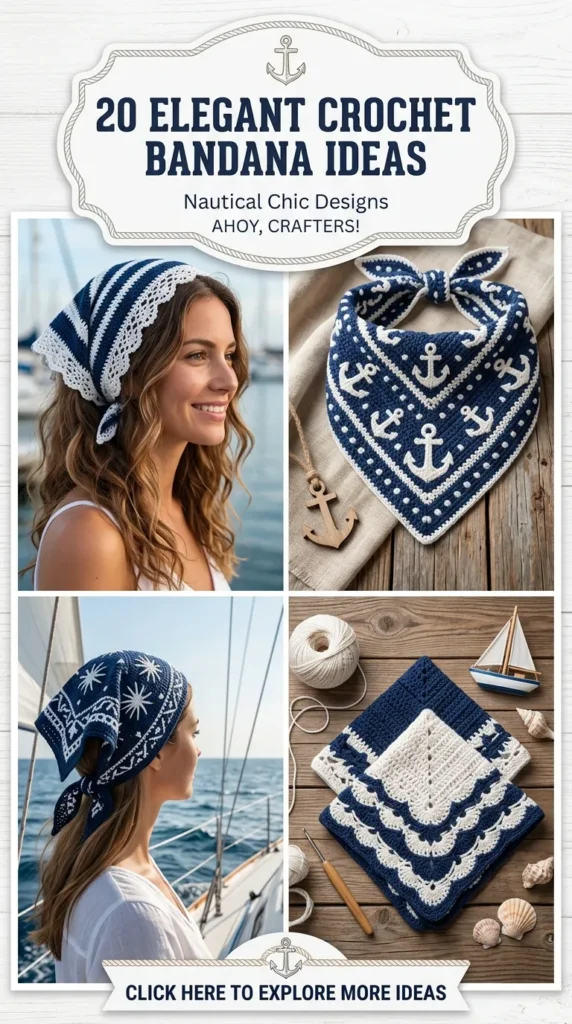
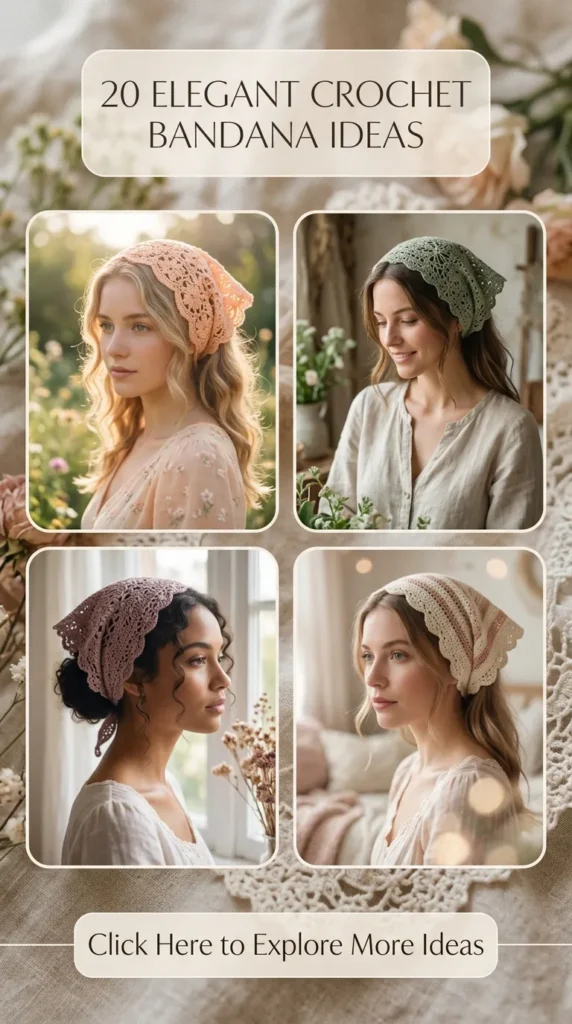
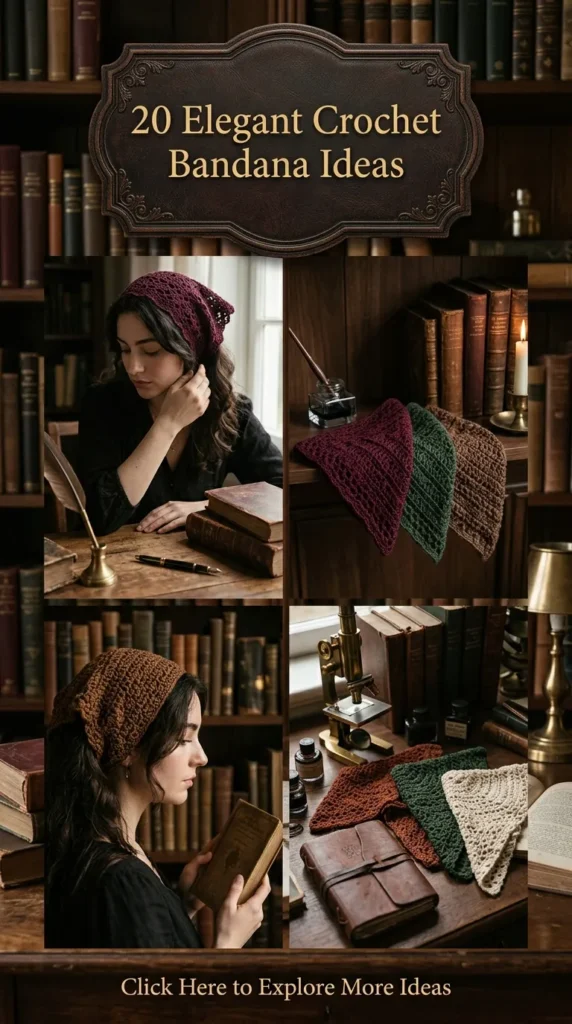
20 Elegant Crochet Bandana Ideas
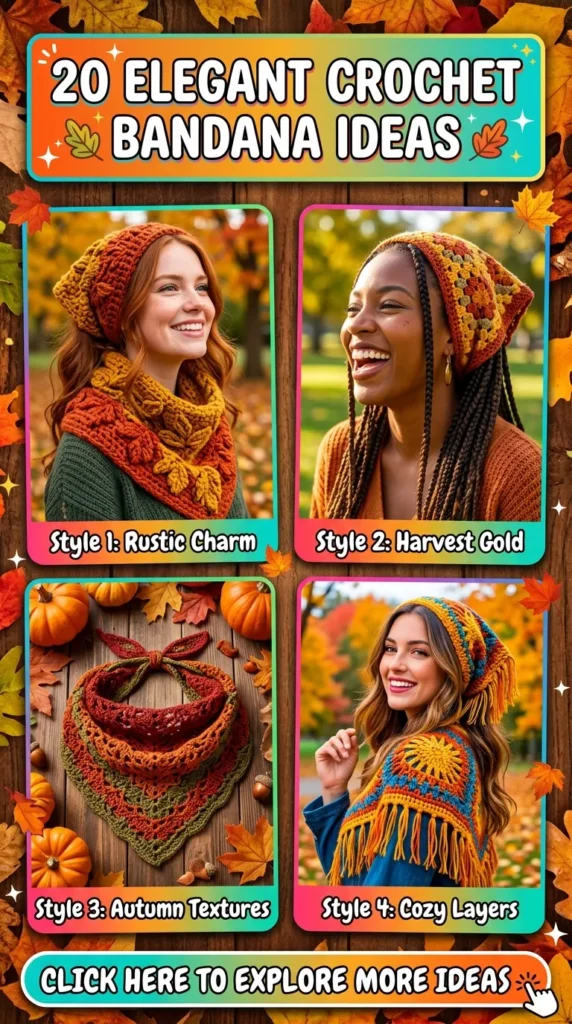
The crochet bandana has firmly established itself as a modern fashion essential, bridging the gap between vintage nostalgia and contemporary streetwear chic. Whether styled as a classic hair covering, a neck kerchief, or an edgy festival accessory, a handmade crochet bandana adds an instant touch of artisanal elegance to any outfit. Quick to work up, endlessly customizable, and wonderfully versatile, bandanas are among the most rewarding projects for fiber artists of all skill levels.
This comprehensive guide explores 20 exquisite crochet bandana designs. Each concept includes an introduction, an exploration of what the design represents, step-by-step guidance on how to make it, essential tips and variations, and the exact materials required. At the conclusion of this article, you will find a curated collection of high-resolution visual prompts designed to inspire your next creative photoshoot.
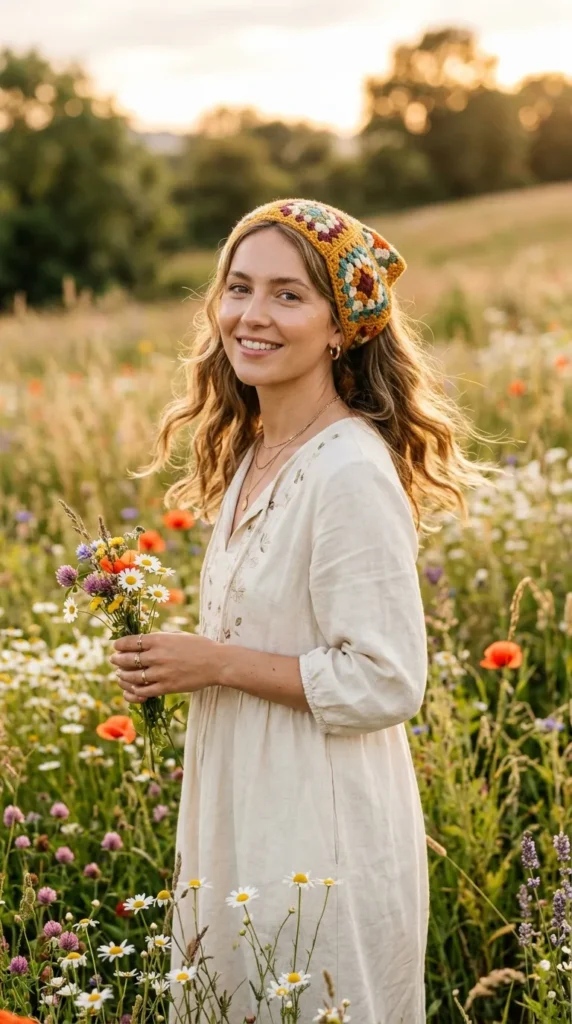
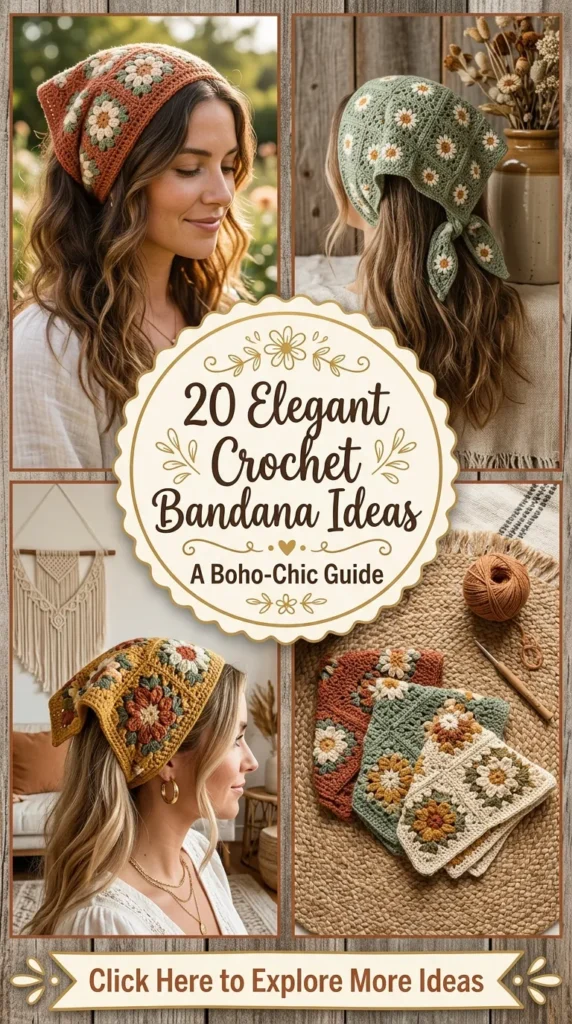
1. Classic Granny Square Bandana
Introduction
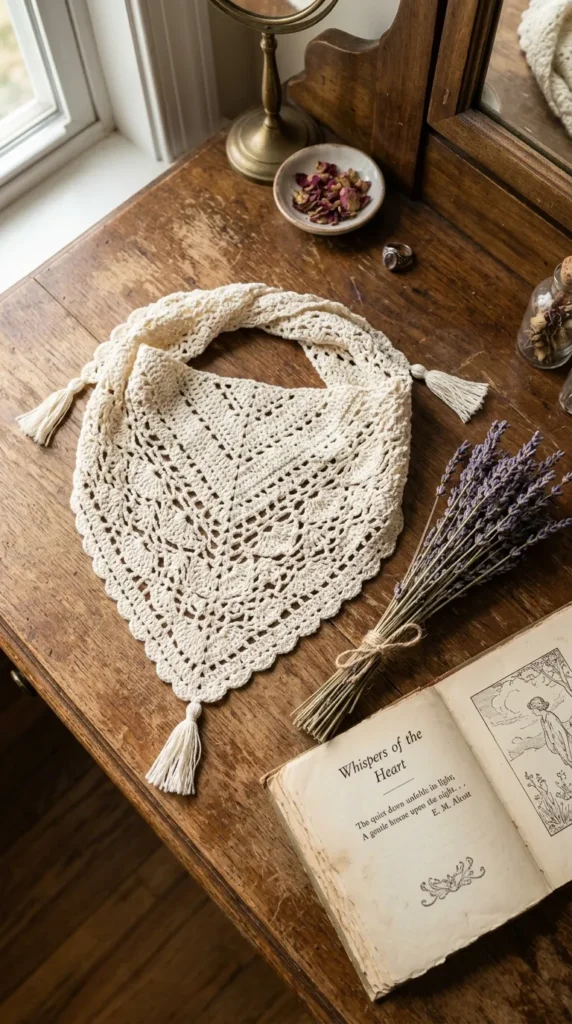
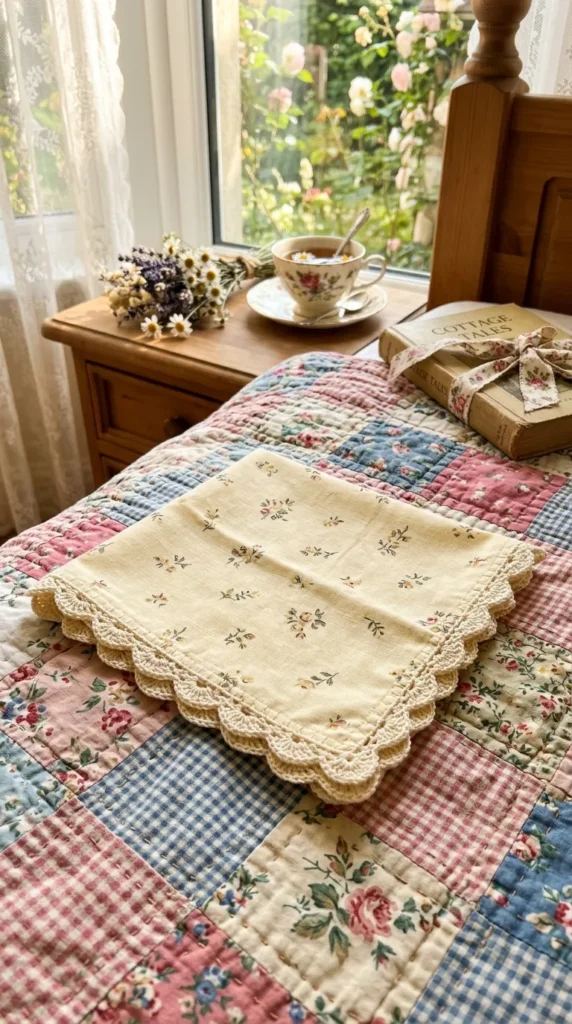
The Classic Granny Square Bandana takes a beloved vintage motif and reconfigures it into a stylish, face-framing hair accessory. By joining multiple small squares or working a single large expanding square, this design offers a cheerful, nostalgic aesthetic that never goes out of style.
What This Idea Means
This concept honors textile heritage and modular craftsmanship. It represents a resourceful, playful approach to fashion, celebrating the comforting geometry of traditional crochet blocks adapted for modern wear.
How to Make It
- The Motif: Begin at the center magic ring of a classic square, working rounds of 3-double-crochet clusters separated by chain-2 corner spaces until your square reaches the desired diagonal width.
- Shaping into a Triangle: Fold your completed square diagonally in half to form a crisp triangle, or construct a specialized triangular granny motif straight from the bottom point up.
- The Tie Straps: Along the top long edge, work several rows of single crochet or chain long ties at each corner to secure the bandana comfortably around the head.
- Finishing: Weave in all yarn ends securely and block the piece flat to ensure sharp, clean corners.
Tips and Variations
- Tip: Use a slightly smaller hook than recommended for your yarn weight to give the fabric a firmer structure that maintains its shape on your head.
- Variation: Alternate contrasting colors every round for a vibrant, retro-inspired rainbow effect.
Needs to Make That Thing
- Yarn: 1–2 skeins of DK weight cotton yarn in assorted colors.
- Hook: 4mm crochet hook.
- Notions: Tapestry needle, blocking pins.
2. Bohemian Lace Shell Bandana
Introduction
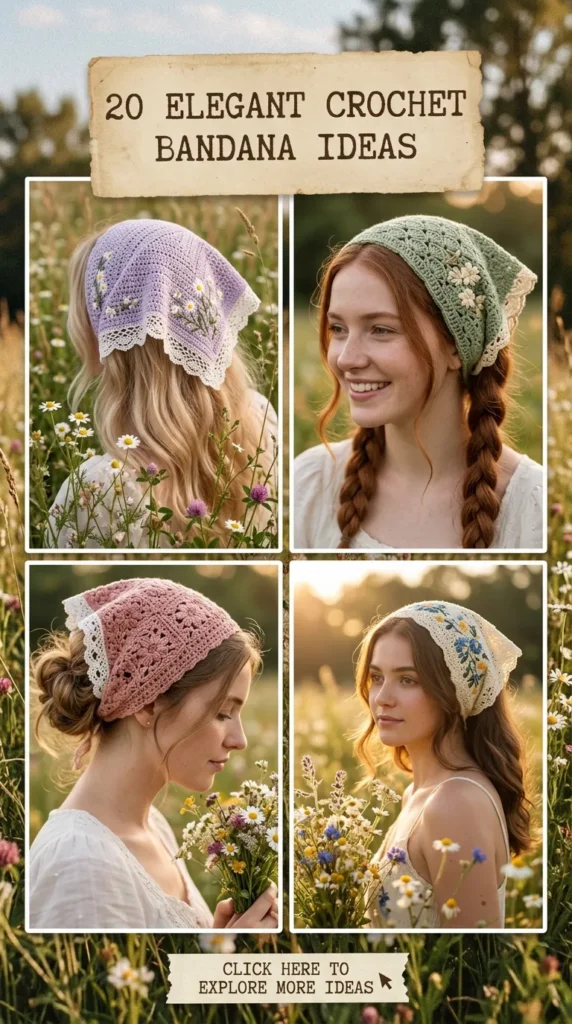
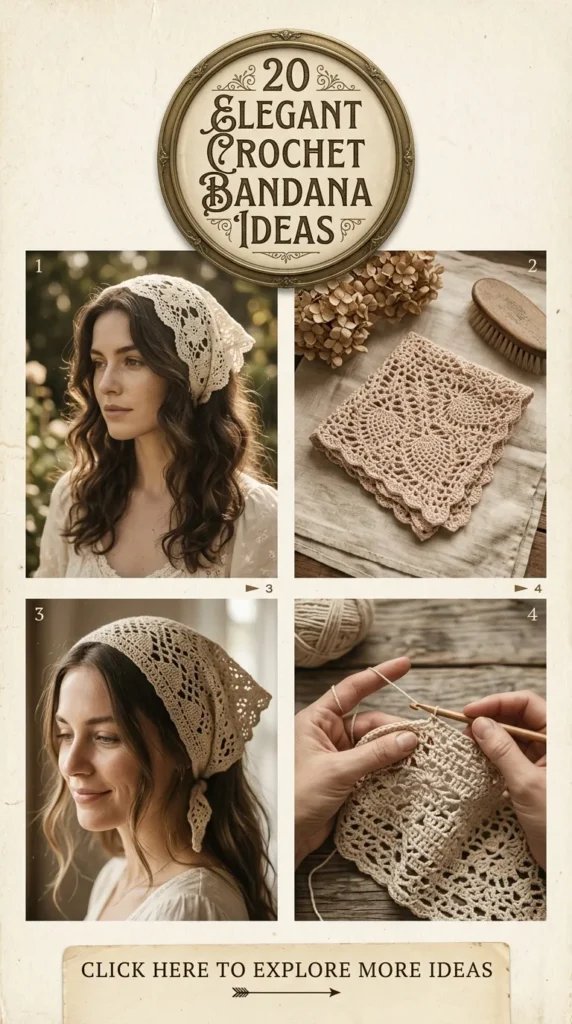
Delicate, airy, and deeply romantic, the Bohemian Lace Shell Bandana features intricate openwork fan stitches that drape softly over the hair. It evokes the effortless elegance of vintage cottagecore and summer festival fashion.
What This Idea Means
This design celebrates delicate stitch anatomy and lightweight draping, proving that crochet can be ornate, feminine, and remarkably breathable.
How to Make It
- The Starting Point: Begin at the bottom narrow point of the triangle by chaining a few stitches and working a foundation cluster.
- Expanding the Shells: Increase your shell pattern (typically groups of 5 double crochets in a single space) evenly across each row as you work upward, expanding the triangle’s width.
- Top Band: Once the triangle reaches your desired height across the forehead, work a straight stabilizing band of single crochet along the top edge, incorporating long string ties at each corner.
- Blocking: Wet-block the lace fabric to open up the delicate shell loops and create crisp, elegant stitch definition.
Tips and Variations
- Tip: Use mercerized cotton yarn to give the lace shells a subtle, sophisticated sheen and clean stitch separation.
- Variation: Add a delicate picot edge along the lower sloping sides of the triangle for an extra touch of vintage charm.
Needs to Make That Thing
- Yarn: 1 ball of size 3 crochet cotton or fingering weight bamboo yarn.
- Hook: 3.5mm crochet hook.
- Notions: Tapestry needle, blocking board and pins.
3. Vintage Daisy Motif Bandana
Introduction
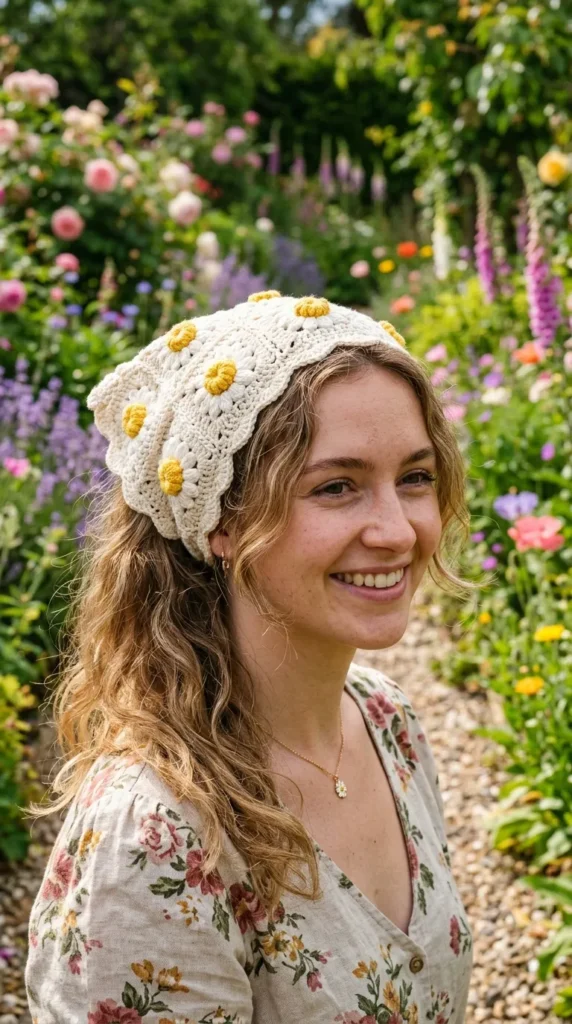
Charming and cheerful, the Vintage Daisy Motif Bandana features adorable 3D floral centers that bloom across a neutral mesh background. It is a joyful statement piece that brings springtime energy to any wardrobe.
What This Idea Means
This concept highlights tactile surface embellishment and botanical inspiration, blending textured popcorn stitches with delicate background mesh.
How to Make It
- Crocheting the Daisies: Make several individual small daisy motifs using bright yellow yarn for the center puff and crisp white for the petal rounds.
- Connecting Motifs: Join the daisy squares together in a triangular layout using an invisible join or slip stitch seam from the wrong side.
- Filling the Gaps: Work mesh filler stitches (chains and single crochets) between the outer edges of the squares to unify the triangular shape.
- Border and Ties: Finish the entire perimeter with a clean single crochet border and sturdy integrated corner tie strings.
Tips and Variations
- Tip: Weave in your yarn tails immediately after finishing each daisy to keep your workspace organized and stress-free.
- Variation: Use soft pastel shades for the petals (like blush pink and baby blue) for a gentle, dreamy aesthetic.
Needs to Make That Thing
- Yarn: Worsted weight cotton yarn in yellow, white, and a background neutral (e.g., sage green or cream).
- Hook: 4mm crochet hook.
- Notions: Tapestry needle, sharp scissors.
4. Textured Alpine Stitch Bandana
Introduction
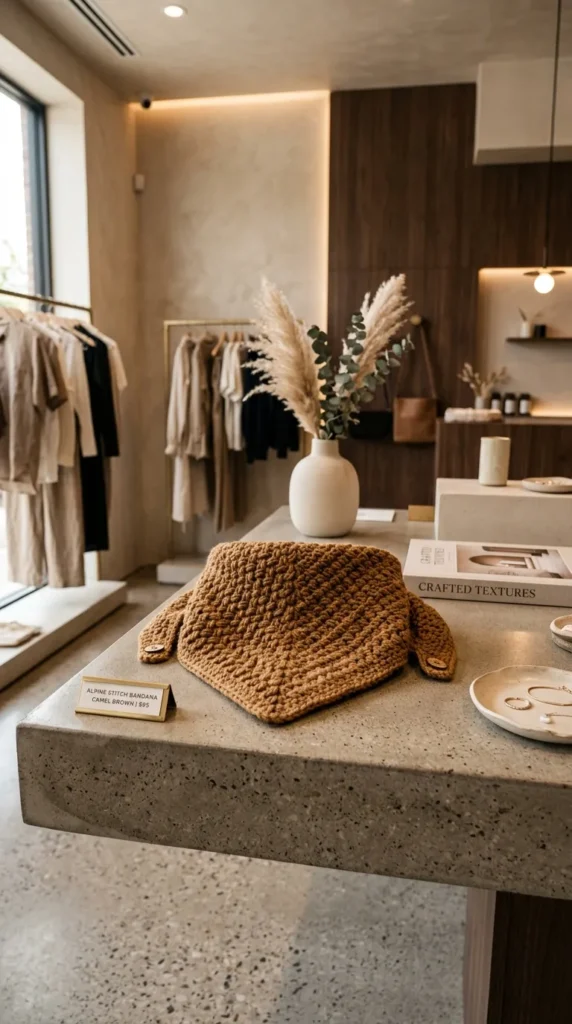
Rich, deeply textured, and remarkably cozy, the Textured Alpine Stitch Bandana features raised diamond patterns created by dropping stitches down into previous rows. It offers wonderful thickness and high-end boutique appeal.
What This Idea Means
This design explores advanced texturing and structural depth, demonstrating how simple yarn can transform into an architectural masterpiece through strategic stitch placement.
How to Make It
- Foundation: Start at the wide top base of the bandana with a sturdy single crochet band, or begin at the bottom point and increase rows outward.
- The Alpine Pattern: Alternate rows of front post treble crochets (worked around posts two rows down) with plain single crochet rows to build the signature textured fabric.
- Shaping: Decrease stitches evenly along the side edges if starting from the base, or increase if starting from the point, maintaining the alpine diamond symmetry.
- Finishing: Work a clean single crochet border around all edges to lock in the shape.
Tips and Variations
- Tip: Count your stitches carefully on the single crochet rows between alpine rows to ensure your diamond pattern remains perfectly aligned.
- Variation: Use a tonal tweed yarn to make the alpine texture pop with subtle multi-colored flecks.
Needs to Make That Thing
- Yarn: 1–2 skeins of worsted weight wool or cotton-blend yarn.
- Hook: 5mm crochet hook.
- Notions: Tapestry needle, stitch markers.
5. Silk-Blend Minimalist Triangle Bandana
Introduction
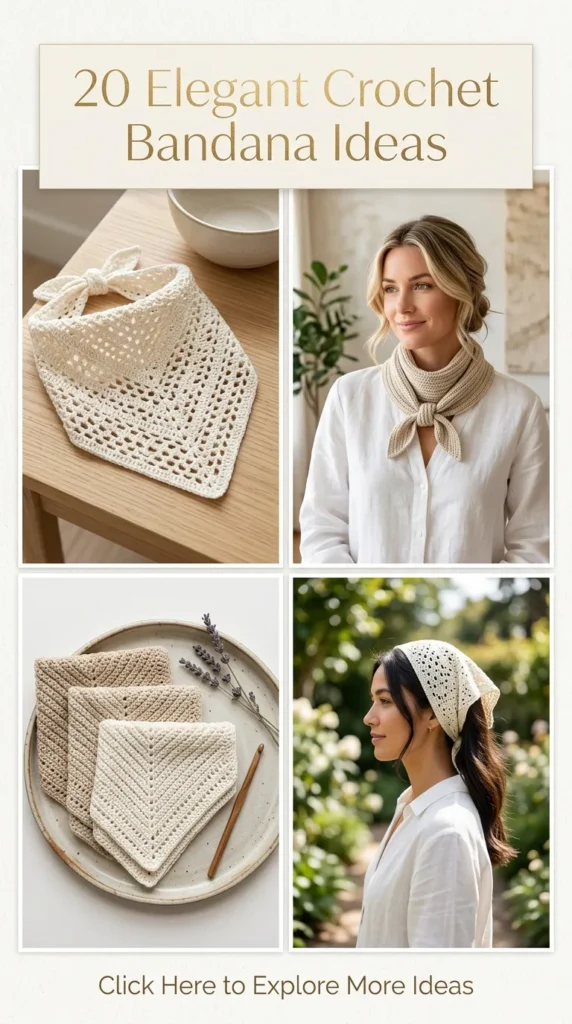
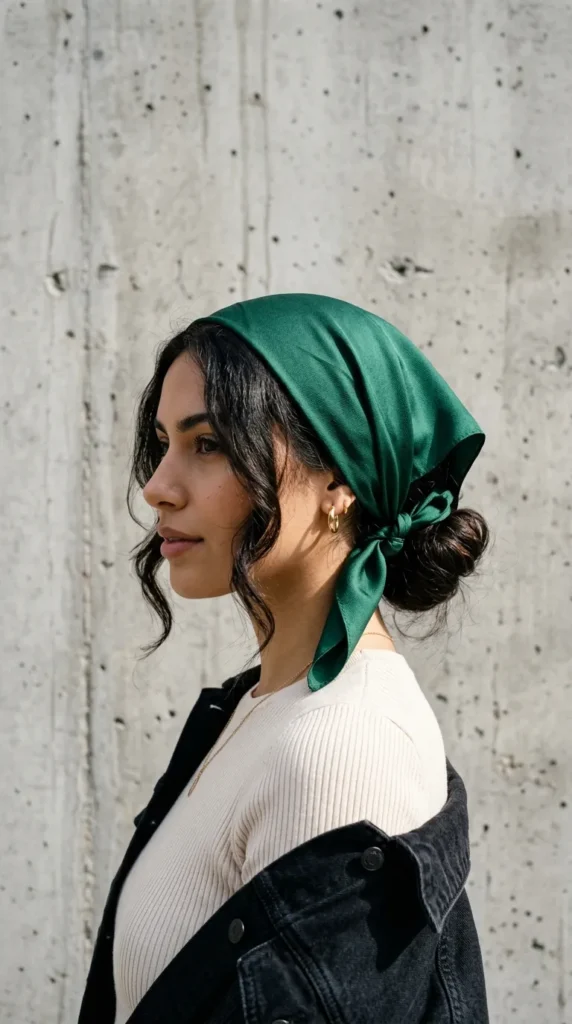
Sleek, understated, and luxurious, the Silk-Blend Minimalist Triangle Bandana offers a refined approach to everyday hair accessories. The smooth drape of silk-blend yarn elevates a simple triangle into a high-fashion statement.
What This Idea Means
This concept focuses on modern minimalism and premium fiber quality. It is about letting the natural drape and subtle sheen of luxury yarn speak for itself without complex stitch distraction.
How to Make It
- Starting Point: Begin at the bottom corner tip with a magic ring or a small 3-chain foundation.
- Simple Stitches: Work rows of half-double crochet or smooth linen stitch, increasing by one stitch at the beginning and end of every row to form a precise triangle.
- Reaching Width: Continue increasing until the top horizontal edge reaches your preferred head-wrapping width (roughly 18 to 22 inches).
- Clean Edging and Ties: Work a neat crab stitch (reverse single crochet) border along all sides and extend the top corners into sturdy braided ties.
Tips and Variations
- Tip: Silk and bamboo blends can stretch slightly; handle your work gently and block it to final dimensions when finished.
- Variation: Choose a rich jewel tone like emerald green or sapphire blue for an instant touch of evening elegance.
Needs to Make That Thing
- Yarn: 1 skein of silk-wool or silk-bamboo fingering weight yarn.
- Hook: 3.5mm crochet hook.
- Notions: Tapestry needle, measuring tape.
6. Scalloped Edge Coquette Bandana
Introduction
Dainty, feminine, and delightfully playful, the Scalloped Edge Coquette Bandana features delicate shell borders that frame the face like soft flower petals. It is the ultimate accessory for modern aesthetic styling.
What This Idea Means
This design celebrates soft romanticism and pretty finishing details, transforming a simple headscarf into a charming coquette-core statement piece.
How to Make It
- The Triangle Body: Crochet a smooth, solid triangular bandana body using basic half-double crochet stitches for a dense, opaque fabric.
- Scalloped Border: Attach yarn to the bottom corner and work a continuous round of scalloped shell stitches (e.g., 5 double crochets in one space, skip 2, slip stitch) along all three edges.
- Corner Ties: Create long, delicate chain ties at the upper corners, reinforcing them with slip stitches back down the chain.
- Blocking: Gently steam-block the finished scalloped border so the shells curl outward into crisp, defined shapes.
Tips and Variations
- Tip: Use a slightly smaller crochet hook for the scalloped border than you used for the main body to keep the shells crisp and flat.
- Variation: Choose a soft rose pink or buttercream yellow yarn for an enchanting fairytale look.
Needs to Make That Thing
- Yarn: 1–2 skeins of DK weight cotton yarn.
- Hook: 4mm crochet hook.
- Notions: Tapestry needle, steam iron.
7. Boho Fringe Triangle Scarf
Introduction
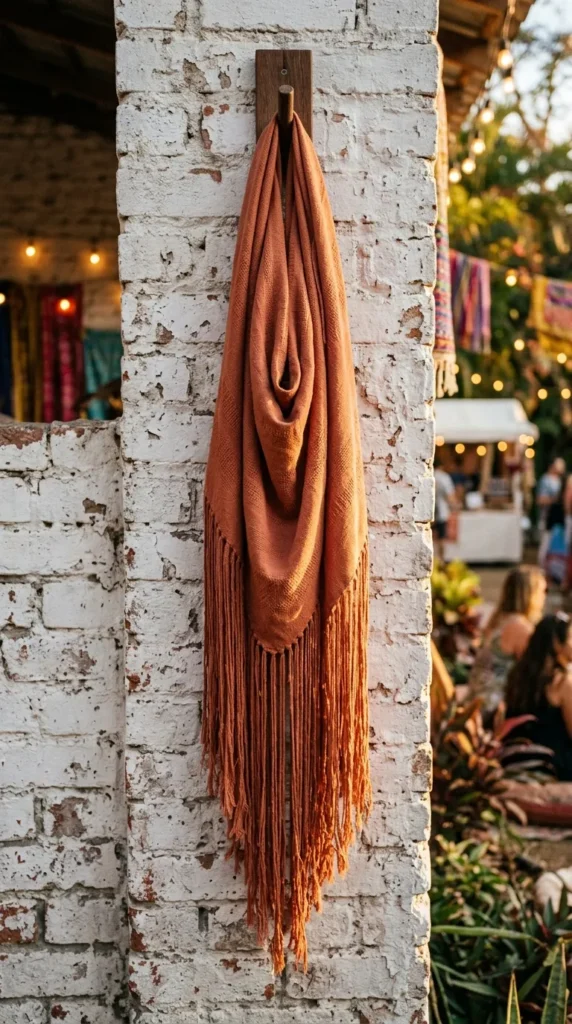
Free-spirited and full of movement, the Boho Fringe Triangle Bandana combines textured stitches with cascading yarn fringe along the bottom sloping edges. It is a festival favorite that oozes effortless cool.
What This Idea Means
This idea embraces maximalist textile art, utilizing earthy tones, rich textures, and dangling embellishments to create a vibrant, expressive piece.
How to Make It
- Textured Body: Crochet a triangular bandana using the moss stitch or seed stitch for a durable, woven-look fabric.
- Adding Fringe: Cut uniform lengths of matching yarn (twice your desired fringe length). Using your crochet hook, attach them using larkshead knots along the bottom sloping sides of the triangle.
- Top Straps: Work a sturdy single crochet band across the top horizontal edge, extending into long braided ties.
- Trimming: Trim the bottom fringe evenly with sharp fabric scissors and lightly steam to relax the fibers.
Tips and Variations
- Tip: Comb out the fringe strands with a wire pet slicker brush if you prefer a fluffy, brushed-out bohemian texture.
- Variation: Incorporate wooden beads threaded onto the fringe strands for an extra touch of earthy detailing.
Needs to Make That Thing
- Yarn: 2 skeins of worsted weight boho-toned cotton yarn (terracotta, mustard, or cream).
- Hook: 4.5mm crochet hook.
- Notions: Tapestry needle, scissors, cardboard template for fringe.
8. Chic Chevron Ripple Bandana
Introduction
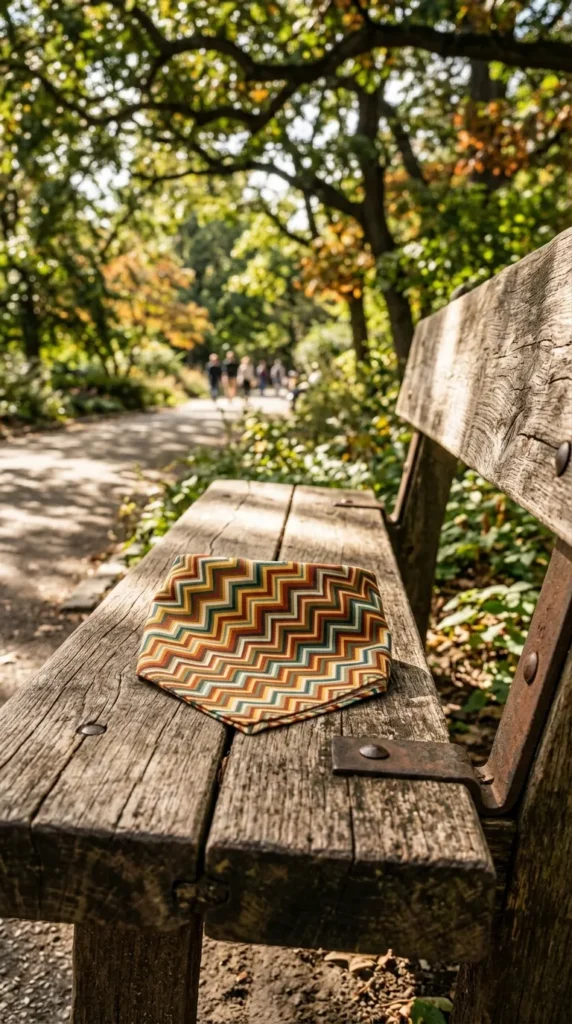
The classic chevron stitch gets a stylish shrunken makeover in the Chic Chevron Ripple Bandana. With dynamic zigzag waves of color, this design brings retro energy into a polished, contemporary silhouette.
What This Idea Means
This design focuses on rhythmic stitching and vibrant wave patterns, creating optical movement and rich textural interest across a small wearable canvas.
How to Make It
- Foundation: Chain a multiple of your chevron stitch repeat plus turning chains, matching the desired wide top edge of your bandana.
- The Ripple Pattern: Work rows of the chevron stitch (incorporating precise increases at the peaks and decreases at the valleys) while decreasing the overall stitch count each row to form a triangle.
- Color Transitions: Change colors every two rows for a neat striped wave effect that emphasizes the zigzag contours.
- Finishing Ties: Add clean single crochet borders and corner tie strings to secure the piece.
Tips and Variations
- Tip: Count your stitches meticulously at the end of every single row to ensure your peaks and valleys align perfectly.
- Variation: Use earthy gradient yarns for a stunning vintage sunset effect.
Needs to Make That Thing
- Yarn: DK weight cotton yarn in 3 harmonizing shades.
- Hook: 4mm crochet hook.
- Notions: Tapestry needle, stitch markers.
9. Velvet Ribbon Tie Bandana
Introduction
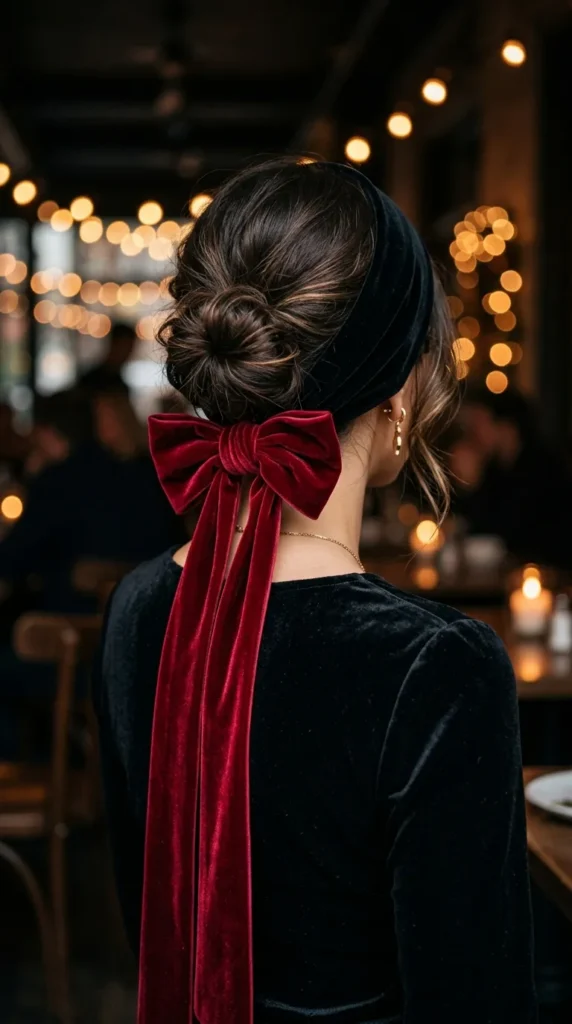
Combining plush yarn textures with opulent velvet ribbon closures, the Velvet Ribbon Tie Bandana is the epitome of coquette-core elegance. Instead of crocheted strings, rich velvet ribbons tie at the nape of the neck.
What This Idea Means
This concept merges cozy knitwear with delicate accessories, utilizing contrasting tactile ribbon textures to elevate a standard headscarf into a designer piece.
How to Make It
- The Triangle Body: Work a sleek, fitted triangular bandana using a smooth worsted-weight yarn and a simple moss stitch or half-double crochet.
- Ribbon Loops: Create small loop eyelets at the upper two corners of the bandana during your final border round.
- Attaching the Ribbons: Thread wide, high-quality double-faced velvet ribbons through the corner loops, allowing long tail ends to tie into a graceful bow at the back of the head.
- Secure Fastening: Anchor the ribbons with a few hidden stitches so they stay securely in place during wear.
Tips and Variations
- Tip: Singlet-seal the cut ends of your velvet ribbon with a lighter flame to prevent fraying over time.
- Variation: Pair a deep black bandana with rich crimson velvet ribbons for a dramatic winter contrast.
Needs to Make That Thing
- Yarn: 1–2 skeins of smooth DK weight cotton-wool yarn.
- Hook: 4.5mm crochet hook.
- Notions: 1 yard of wide velvet ribbon, tapestry needle, lighter.
10. Modern Color-Block Bandana
Introduction
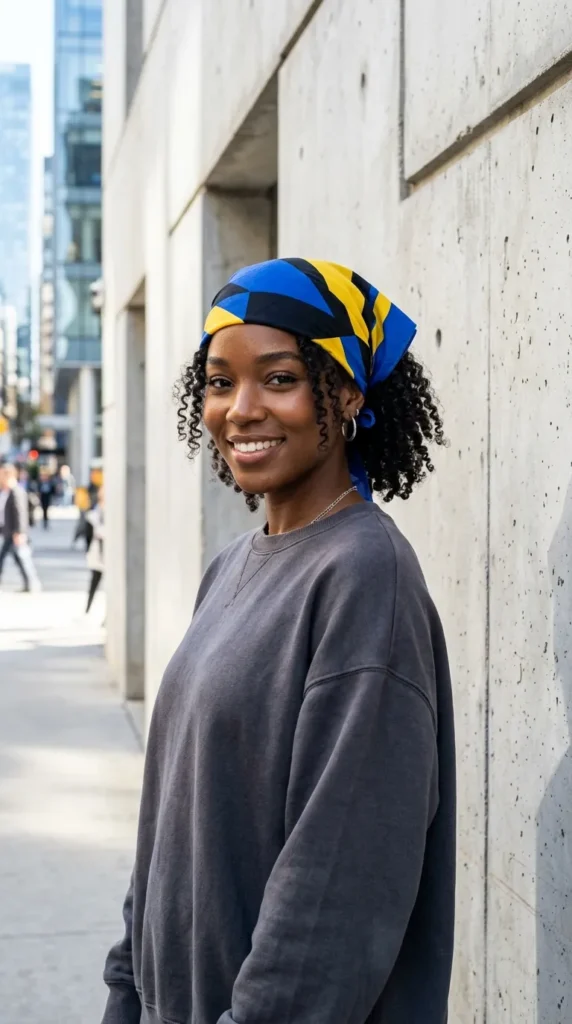
Bold, graphic, and fashion-forward, the Modern Color-Block Bandana plays with contrasting geometric blocks of color. It is a favorite among contemporary streetwear enthusiasts and avant-garde designers.
What This Idea Means
This concept celebrates modern graphic design and stark color contrast, using clean boundaries between distinct hues to make a powerful visual statement.
How to Make It
- Planning the Blocks: Divide your triangular bandana pattern into distinct color sections (e.g., left half, right half, bottom corner tip).
- Tapestry Crochet: Work the panels using tapestry crochet techniques or crochet individual geometric panels separately and seam them together.
- Assembly: Join the color-blocked pieces securely using a flat slip-stitch seam on the wrong side.
- Border Trim: Work a contrasting border around the entire perimeter to pull the geometric color story together cleanly.
Tips and Variations
- Tip: Block all individual sections before final assembly to ensure your color block lines meet with absolute mathematical precision.
- Variation: Pair primary colors like cobalt blue and sunshine yellow with a neutral black trim.
Needs to Make That Thing
- Yarn: Worsted weight wool yarn in 3 bold contrasting colors.
- Hook: 4.5mm crochet hook.
- Notions: Tapestry needle, locking stitch markers.
11. Delicate Moss Stitch Bandana
Introduction
Lightweight, squishy, and wonderfully modern, the Delicate Moss Stitch Bandana (also known as the granite or linen stitch) creates a woven-fabric texture that is breathable, stretchy, and incredibly chic.
What This Idea Means
This design prioritizes modern minimalism and balanced drape. It is understated, lightweight, and contours comfortably to the head without feeling stiff.
How to Make It
- Starting Point: Begin at the bottom corner tip with a small foundation chain.
- Moss Stitch Rows: Work rows of
single crochet, chain 1, skip 1 stitch, increasing at the edges to expand the triangle. The single crochets nest beautifully into the previous row’s chain-1 spaces. - Reaching Width: Continue until the top edge reaches your desired head measurement.
- Border and Ties: Finish with a clean single crochet border around all three edges, extending the top corners into sturdy braided ties.
Tips and Variations
- Tip: The moss stitch has great diagonal stretch; ensure your starting tension isn’t too loose.
- Variation: Use a self-striping speckled sock yarn for a gorgeous painterly effect.
Needs to Make That Thing
- Yarn: 1 skein of fingering or sport weight yarn.
- Hook: 4mm crochet hook.
- Notions: Tapestry needle, scissors.
12. African Flower Motif Bandana
Introduction
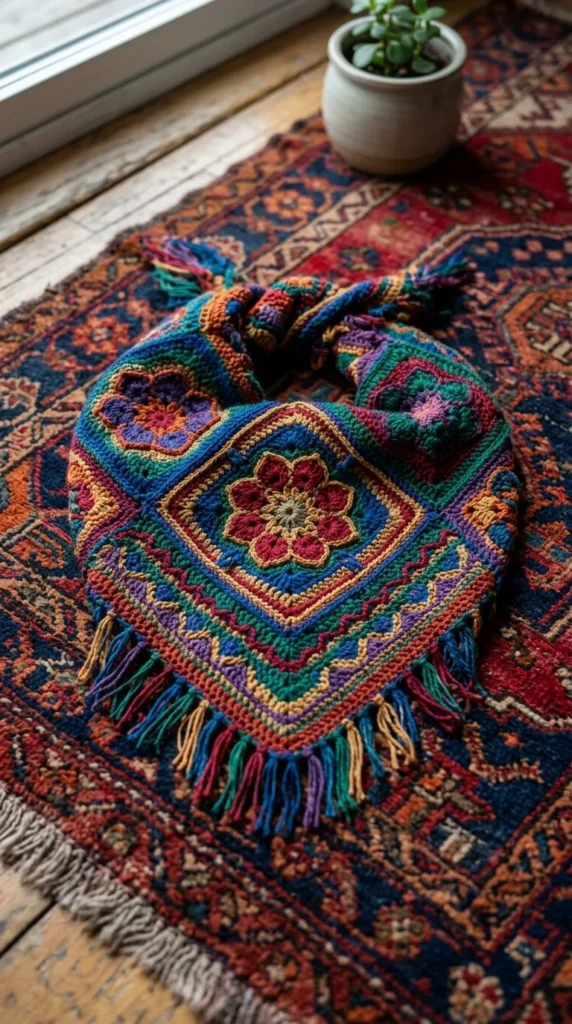
Featuring intricate hexagonal and half-hexagonal African Flower tiles, this bandana is an absolute work of art. The mesmerizing geometric floral centers create an eye-catching mosaic design.
What This Idea Means
This project focuses on modular geometry and color placement, transforming individual flower tiles into a cohesive, sculptural hair accessory.
How to Make It
- Crocheting the Motifs: Make several half-hexagons and full African Flower motifs using a 3-color scheme (center flower, petal layer, outer contrasting border).
- Blocking: Block every motif flat to ensure sharp symmetry and clean joining edges.
- Assembly Diagram: Arrange the tiles into a triangular bandana formation following a precise geometric layout map.
- Joining and Edging: Join the motifs using a flat zip-line join or whip stitch from the wrong side, then add a sturdy solid border and corner ties.
Tips and Variations
- Tip: Keep a consistent color for the outer border of all motifs so the overall geometric pattern pops with maximum clarity.
- Variation: Use neutral shades (cream, tan, and charcoal) for a sophisticated, earthy designer look.
Needs to Make That Thing
- Yarn: Worsted weight cotton yarn in 4 complementary colors.
- Hook: 4mm crochet hook.
- Notions: Tapestry needle, blocking board, pins.
13. Pearl-Embellished Evening Bandana
Introduction
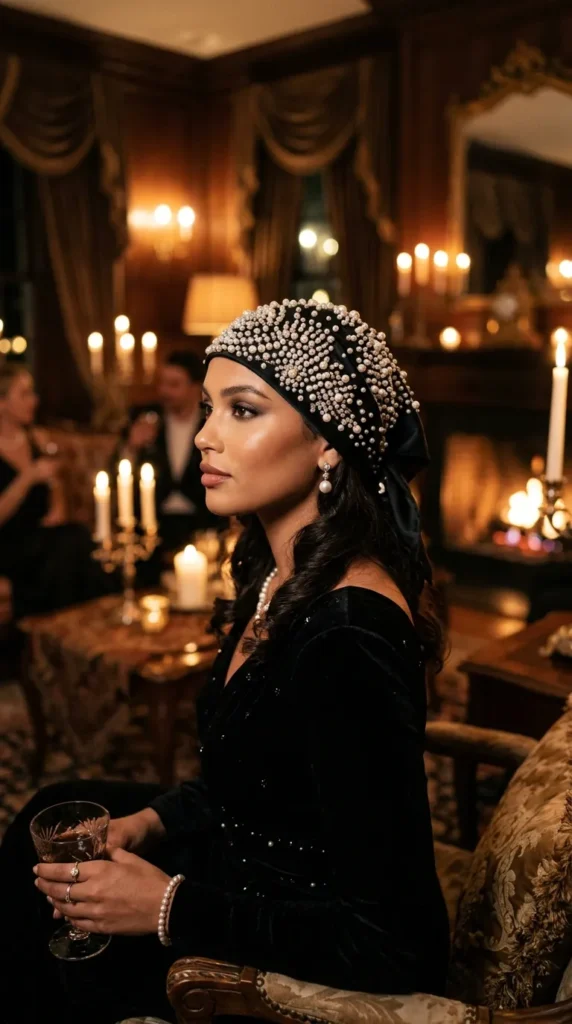
Transforming a casual hair accessory into formal evening wear, the Pearl-Embellished Evening Bandana is dotted with shimmering faux pearls. It brings unexpected glamour and elegance to holiday parties and special events.
What This Idea Means
This design merges casual knitwear with high-fashion embellishment, proving that hair accessories can be ornate, delicate, and evening-appropriate.
How to Make It
- Pre-Stringing or Sewing: Either thread pearls onto your yarn before you begin crocheting or hand-sew pearls onto the finished bandana fabric.
- The Base Garment: Crochet a sleek, fitted triangular bandana using fine merino wool or cashmere yarn in a rich, dark hue like midnight black or cream.
- Embellishment Scatter: Distribute pearls in clusters across the center and lower point of the bandana, spacing them evenly for a balanced, luxurious look.
- Secure Fastening: If hand-sewing, use strong, double-threaded sewing thread and knot each pearl securely on the back side.
Tips and Variations
- Tip: Avoid placing pearls directly along the immediate forehead contact edge to ensure maximum comfort.
- Variation: Mix silver seed beads with pearls for an extra sparkling, starry-night effect.
Needs to Make That Thing
- Yarn: 1–2 skeins of fine merino wool yarn.
- Hook: 4mm crochet hook.
- Notions: Assorted flat-back or hole-drilled faux pearls, sewing needle, strong thread.
14. Two-Tone Fisherman’s Rib Bandana
Introduction
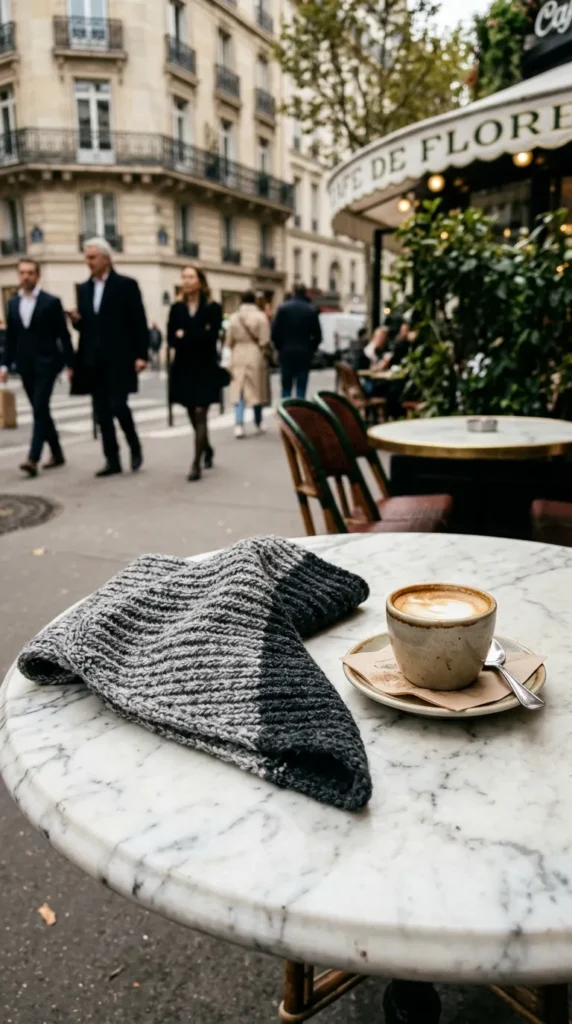
Inspired by rugged maritime knitwear, the Two-Tone Fisherman’s Rib Bandana offers extraordinary thickness, spongy elasticity, and rich vertical texture. It is exceptionally warm, cozy, and visually striking.
What This Idea Means
This concept focuses on dense, structural stitch work that mimics knit brioche, providing incredible wind-resistance and high-end tailoring.
How to Make It
- The Rib Stitch Technique: Master the crochet equivalent of fisherman’s rib (created by alternating front post double crochets and slip stitches, or specialized ribbed half-double crochets).
- Working Flat: Work your bandana in rows from the top wide base down to the bottom point, decreasing steadily while maintaining crisp vertical ribs.
- Two-Tone Alternation: Switch colors every two rows to emphasize the deep valleys and ridges of the ribbing pattern.
- Crown Shaping: Finish with a clean single crochet border and sturdy corner ties.
Tips and Variations
- Tip: Fisherman’s rib stitches consume more yarn than standard single crochet; ensure you have extra yarn on hand.
- Variation: Use heathered gray and charcoal for a classic, sophisticated Scandinavian aesthetic.
Needs to Make That Thing
- Yarn: 2 skeins of smooth wool yarn in two contrasting colors.
- Hook: 5mm crochet hook.
- Notions: Tapestry needle, stitch markers.
15. Summer Raffia Beach Bandana
Introduction
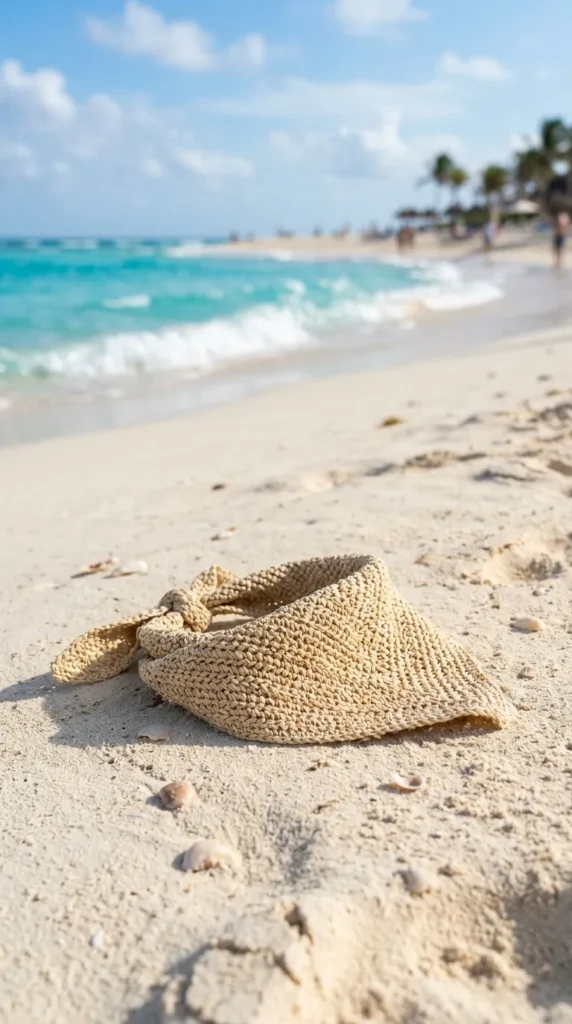
The Summer Raffia Beach Bandana is the quintessential resort-wear accessory. Lightweight, water-resistant, and effortlessly chic, it protects your hair from sea breezes while looking stunning against sand and sun.
What This Idea Means
This idea celebrates natural textures and sustainable crafting, utilizing plant-derived raffia yarn to mimic high-end designer beachwear.
How to Make It
- Base Construction: Start at the bottom point using natural paper raffia yarn and work single crochet stitches, increasing steadily to form a crisp triangle.
- Body Texture: Switch to a sturdy stitch like the thermal stitch or modified moss stitch to give the paper-like raffia structural integrity.
- Top Band and Ties: Work a firm stabilizing top border and crochet long, sturdy raffia chain ties to secure the bandana.
- Shaping: Lightly steam the raffia bandana over a mold or block to set its crisp triangular shape.
Tips and Variations
- Tip: Raffia can be abrasive on hands while working; use an ergonomic hook and take breaks to maintain even tension without strain.
- Variation: Add a playful stripe of crisp optic white across the lower edge for a nautical aesthetic.
Needs to Make That Thing
- Yarn: 2 spools of natural paper raffia yarn.
- Hook: 4mm crochet hook.
- Notions: Tapestry needle, steam iron.
16. Sparkly Lurex Thread Bandana
Introduction
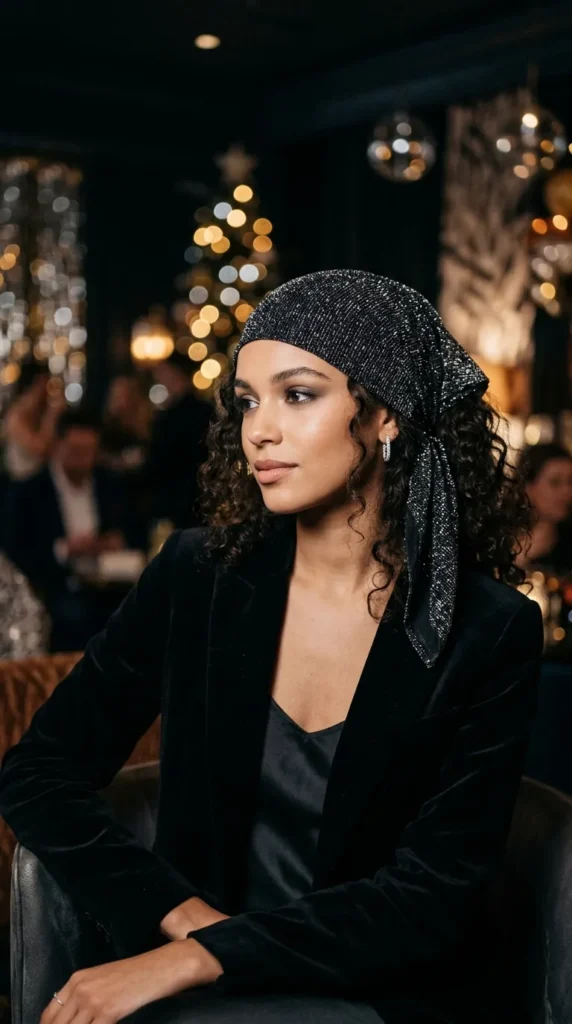
Shimmering subtly with every movement, the Sparkly Lurex Thread Bandana incorporates metallic lurex threads into the yarn to create a magical, starry-night effect perfect for evening wear and festive parties.
What This Idea Means
This concept highlights festive glamour and luminous texturing, turning a casual hair accessory into a sparkling jewelry-like statement piece.
How to Make It
- Yarn Blending: Hold a fine strand of metallic lurex thread together with a smooth wool or alpaca yarn as you crochet.
- Stitch Selection: Use a clean, simple stitch like the half-double crochet so the sparkling metallic sheen is evenly distributed without visual clutter.
- Border Finish: Work a delicate metallic picot or scalloped edge around all three sides for an extra touch of sparkle.
- Secure Ends: Knot and weave in all metallic yarn ends securely to prevent scratching against the skin.
Tips and Variations
- Tip: Metallic threads can sometimes feel slightly abrasive; test your yarn combination against your skin before committing to the full project.
- Variation: Pair a deep obsidian black yarn with silver lurex thread for an unforgettable celestial aesthetic.
Needs to Make That Thing
- Yarn: 1–2 skeins of yarn plus 1 spool of metallic lurex thread.
- Hook: 4.5mm crochet hook.
- Notions: Tapestry needle, scissors.
17. Textured Bobble Stitch Bandana
Introduction
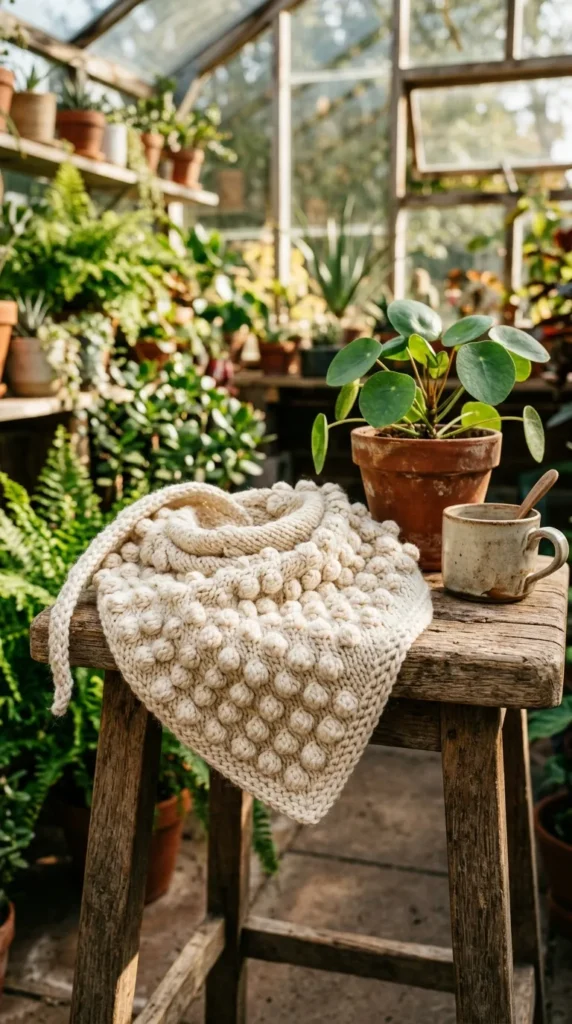
Playful, tactile, and delightfully dimensional, the Textured Bobble Stitch Bandana features raised, pillowy bobbles scattered across the fabric or clustered along the lower border like little berries.
What This Idea Means
This design emphasizes three-dimensional surface embellishment and engaging sensory interaction, elevating a standard headscarf into a work of art.
How to Make It
- Base Triangle: Crochet the main triangular bandana body using sturdy single crochet stitches in warm yarn.
- Incorporating Bobbles: Work bobble stitches (typically 5-dc clusters) in spaced-out rows or clustered along the bottom sloping edge.
- Pushing Bobbles: Ensure all bobbles pop out crisply to the right side of the fabric as you complete each row.
- Clean Edging: Finish the top edge and ties with clean single crochet borders to balance the textured bobbles.
Tips and Variations
- Tip: Space your bobbles evenly using stitch markers to maintain a balanced geometric layout.
- Variation: Make the bandana in soft oat milk cream with contrasting rust-colored bobbles for an autumnal look.
Needs to Make That Thing
- Yarn: 2 skeins of worsted weight wool or cotton yarn.
- Hook: 4.5mm crochet hook.
- Notions: Tapestry needle, stitch markers.
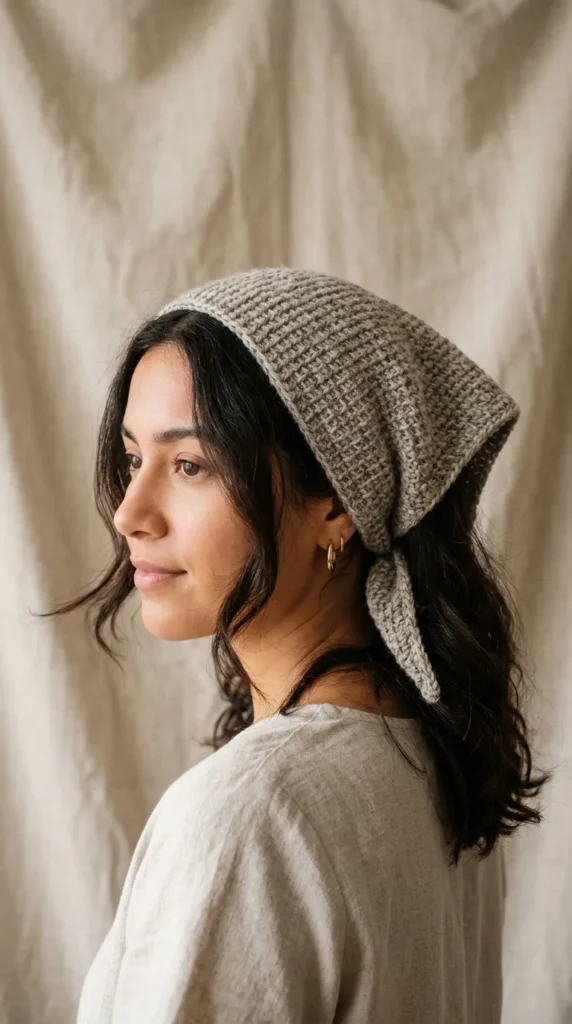
18. Tunisian Crochet Minimalist Bandana
Introduction
Utilizing the unique technique of Tunisian crochet, this minimalist bandana features a dense, knit-like fabric with incredible structural stability and zero curl. It is sleek, modern, and exceptionally tailored.
What This Idea Means
This concept celebrates hybrid fiber arts, bridging the visual aesthetic of knitting with the hook-based construction of crochet.
How to Make It
- Foundation and Increases: Start at the bottom point using a Tunisian crochet hook, working forward and return passes while increasing stitches on the edges each row to form a triangle.
- Tunisian Simple Stitch: Work the classic Tunisian simple stitch for a clean, uniform vertical bar texture across the triangle.
- Top Band: Bind off loosely in pattern, then work a stabilizing row of standard single crochet along the top wide edge.
- Ties: Attach sturdy braided ties to the top corners.
Tips and Variations
- Tip: Use a flexible cable Tunisian hook to comfortably manage the expanding width of the triangle rows.
- Variation: Choose a heathered yarn to accentuate the unique vertical pillars of the Tunisian stitch.
Needs to Make That Thing
- Yarn: 2 skeins of DK weight wool-cotton yarn.
- Hook: 6mm Tunisian crochet hook with a flexible cable.
- Notions: Tapestry needle, locking stitch markers.
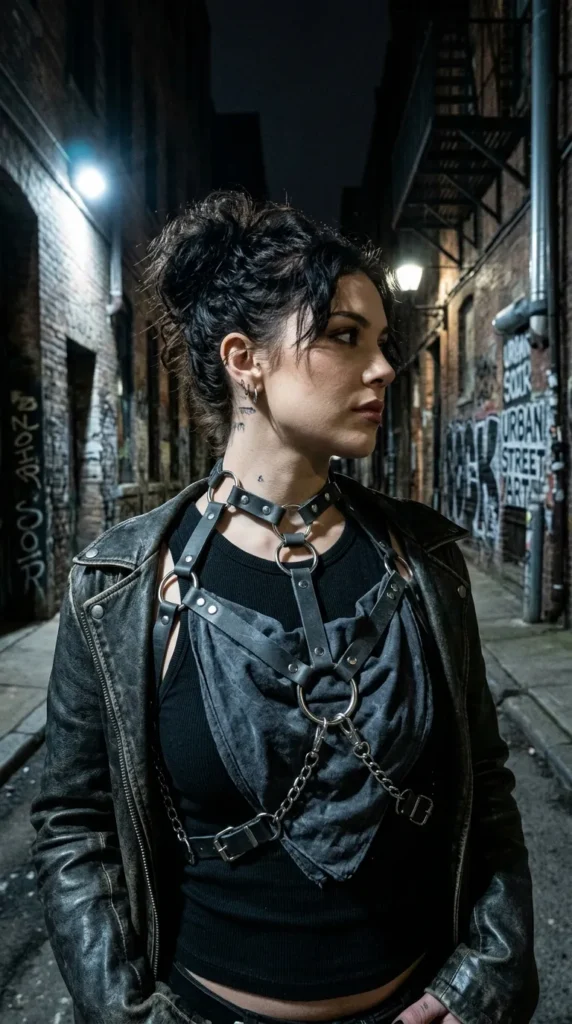
19. Edgy Metal Ring Bandana
Introduction
Embracing modern alternative streetwear, the Edgy Metal Ring Bandana incorporates metallic O-rings or D-rings threaded into the crochet fabric, adding an unmistakable punk-chic attitude.
What This Idea Means
This concept explores rebellious fashion subcultures and hardware accents, combining soft yarn craftsmanship with hard industrial details.
How to Make It
- The Bandana Body: Crochet a sleek, fitted triangular bandana in solid black or dark charcoal gray using tight single crochet stitches.
- Integrating Hardware: When reaching the bottom tip or side edges, crochet directly around the edge of smooth metal O-rings or secure them with sturdy reinforcement loops.
- Strap Details: Add small decorative straps with snap buttons or buckles connecting to the metal rings for an authentic hardware finish.
- Reinforcement: Ensure the fabric holding the metal rings is reinforced with hidden nylon cord to support the weight.
Tips and Variations
- Tip: Choose lightweight aluminum or coated metal rings to ensure the bandana remains comfortable and lightweight on your head.
- Variation: Add small silver safety pin charms or chains threaded between the rings for an even more custom industrial look.
Needs to Make That Thing
- Yarn: 1–2 skeins of worsted weight acrylic or wool yarn.
- Hook: 4.5mm crochet hook.
- Notions: Metal O-rings or D-rings, tapestry needle, heavy-duty thread.
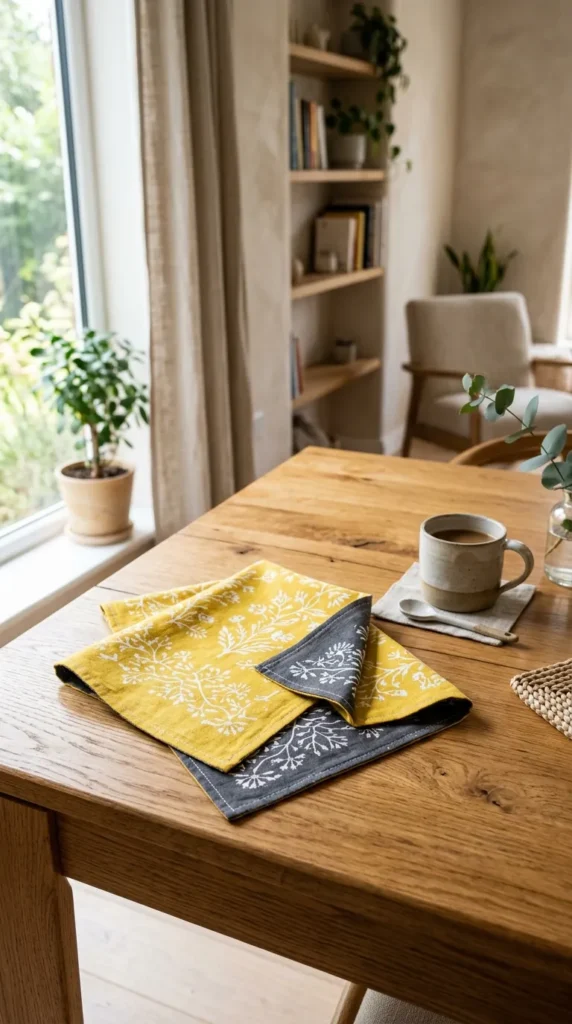
20. Reversible Two-Sided Bandana
Introduction
Engineered for ultimate versatility, the Reversible Two-Sided Bandana features two distinct colorways or stitch patterns on the front and back, allowing you to flip your accessory depending on your outfit.
What This Idea Means
This design focuses on clever construction and functional innovation, maximizing your wardrobe options with a single handmade garment.
How to Make It
- Double-Sided Stitch: Work using a reversible stitch technique (such as the thermal stitch or special interlocking crochet) that displays a clean pattern on both sides.
- Color Contrast: Use one contrasting color for the front-facing rows and another for the back-facing rows, carrying your yarn neatly inside the stitches.
- Shaping: Decrease or increase symmetrically to maintain a balanced, opaque triangle on both sides.
- Seamless Edges: Work a neat, enclosed border around all edges that locks both sides together seamlessly.
Tips and Variations
- Tip: Keep your tension uniform so neither side dominates or warps the reversible fabric.
- Variation: Pair a vibrant sunshine yellow on side one with a sleek charcoal gray on side two for day-to-night versatility.
Needs to Make That Thing
- Yarn: 2 skeins of DK weight cotton yarn in two contrasting colors.
- Hook: 4.5mm crochet hook.
- Notions: Tapestry needle, stitch markers.